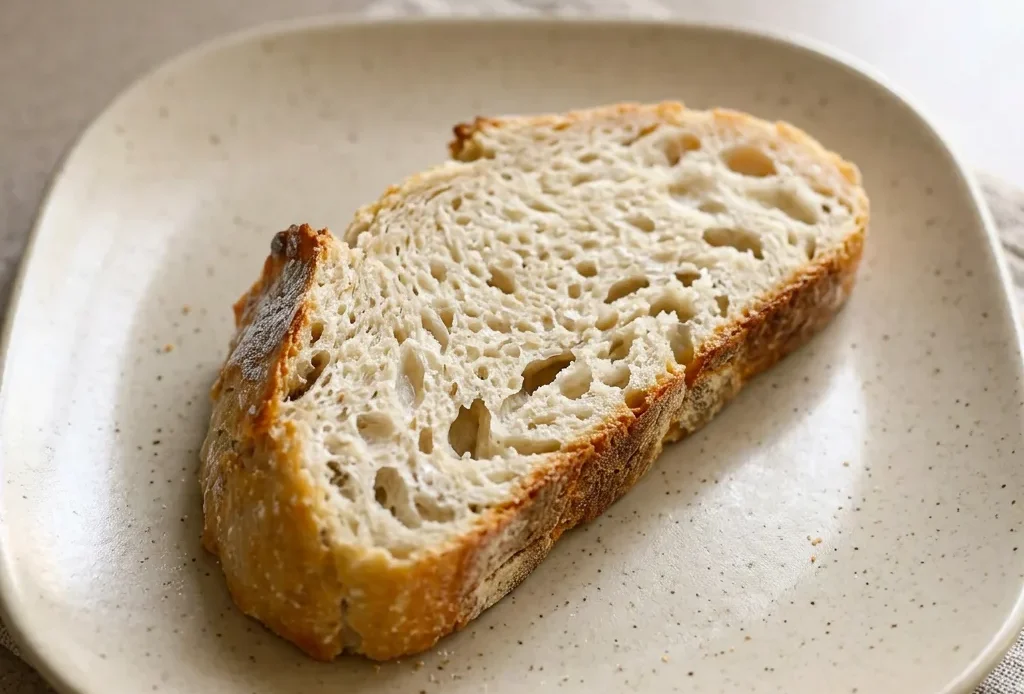
No-knead bread isn’t a shortcut; it’s a different method that trades effort for time. Wet dough does the work, and a Dutch oven traps steam for a crust that crackles. The margin for error is forgiving, water temperature and rise time matter more than your shaping skills.
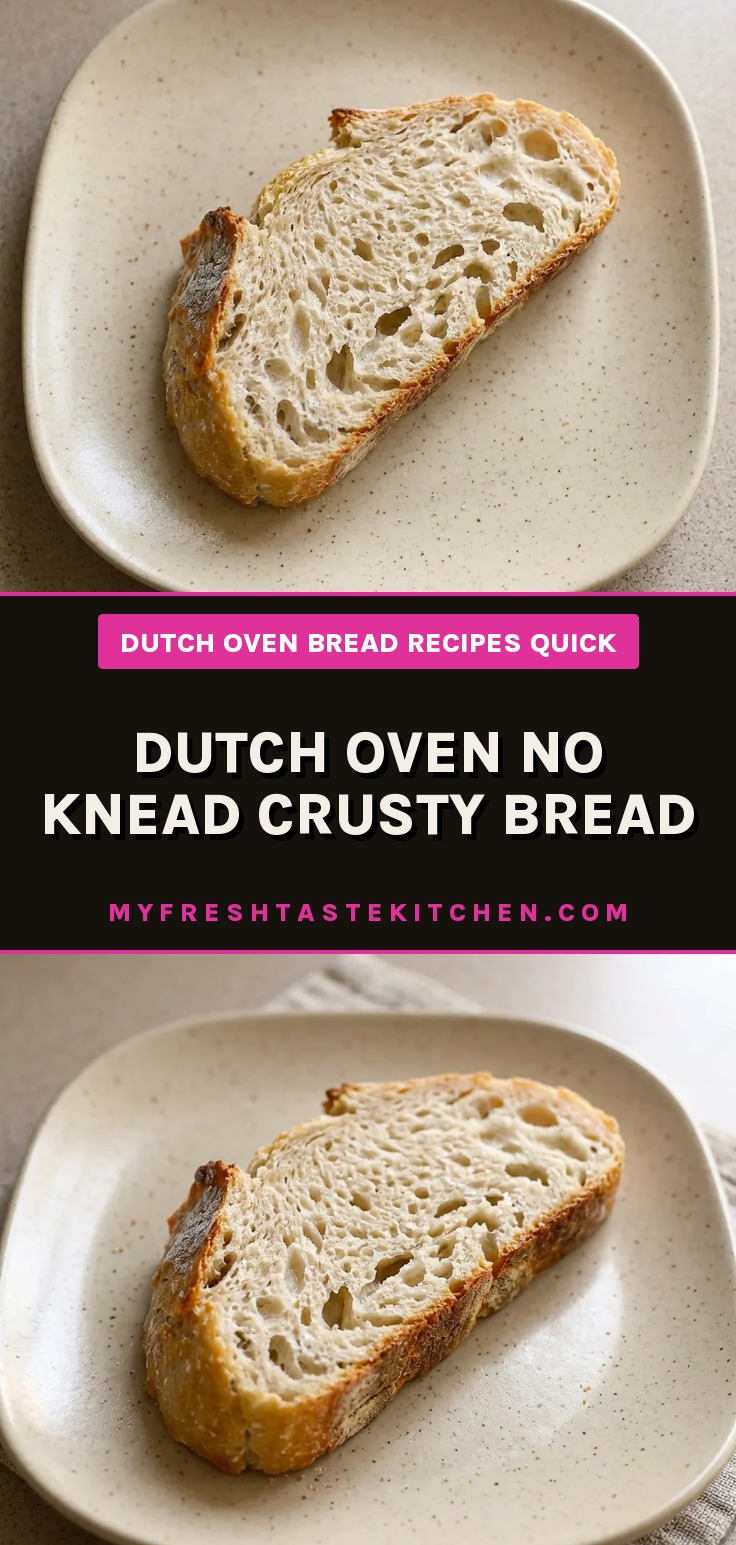
This dutch oven no knead crusty bread proves you don’t have to baby the dough to get an artisan loaf.
I still sprinkle a bit more flour on the parchment before turning out the dough, even though the recipe says to only add extra if it’s too wet. Just a habit from the first few floppy failures.
Why no-knead bread relies on a wet dough and long rise instead of kneading?
The high hydration, that sticky, shaggy dough, is what makes the no-knead method work. With so much water, the flour’s gluten strands get the time and moisture they need to link up on their own, without you working them. That 2- to 3-hour warm rise is the engine: in a cool kitchen, gluten development slows way down, so the dough might not double.
Overmixing is a real risk here. Stir just until the flour disappears; aggressive mixing knocks the air pockets flat and tightens the gluten prematurely, leaving you with a dense loaf.
The yeast does the lifting, and the long rest builds flavor. You can feel the dough’s transformation, it goes from lumpy to smooth and soft.
If it doesn’t, your water was too hot or too cold, or the room was drafty.
How does the Dutch oven create a steamy environment for a crispy crust?
A preheated Dutch oven traps the steam that escapes from the dough as it bakes. That steam keeps the crust soft and flexible during the first phase, allowing the loaf to spring open and rise fully.
The covered 35 minutes is the steam bath; the uncovered 5 to 10 minutes lets the surface dry out and brown into a crackling, deep-golden shell. The heavy cast iron distributes heat evenly, so you don’t get a burnt bottom or pale sides. If you peek during the covered bake, you lose steam and the crust sets too early, limiting oven spring.
The result is a crust that shatters when bitten, not a tough leathery one.
Scoring: optional but why do it?
Scoring gives the steam a clear exit route. Without it, the expanding dough will find its own weak spot, often a random crack at the side or bottom, which can flatten the loaf.
A cross or slash about 1/2 inch deep directs the oven spring upward, producing a controlled burst and an artisanal look. You can skip it; the bread will still taste fine, just with a less predictable shape.
The cut should be decisive, a dull blade drags and seals the surface, preventing the ears from forming. Bread recipes often use scoring for appearance, but here it’s practical: it turns a rustic blob into something you’d pay for at a bakery.
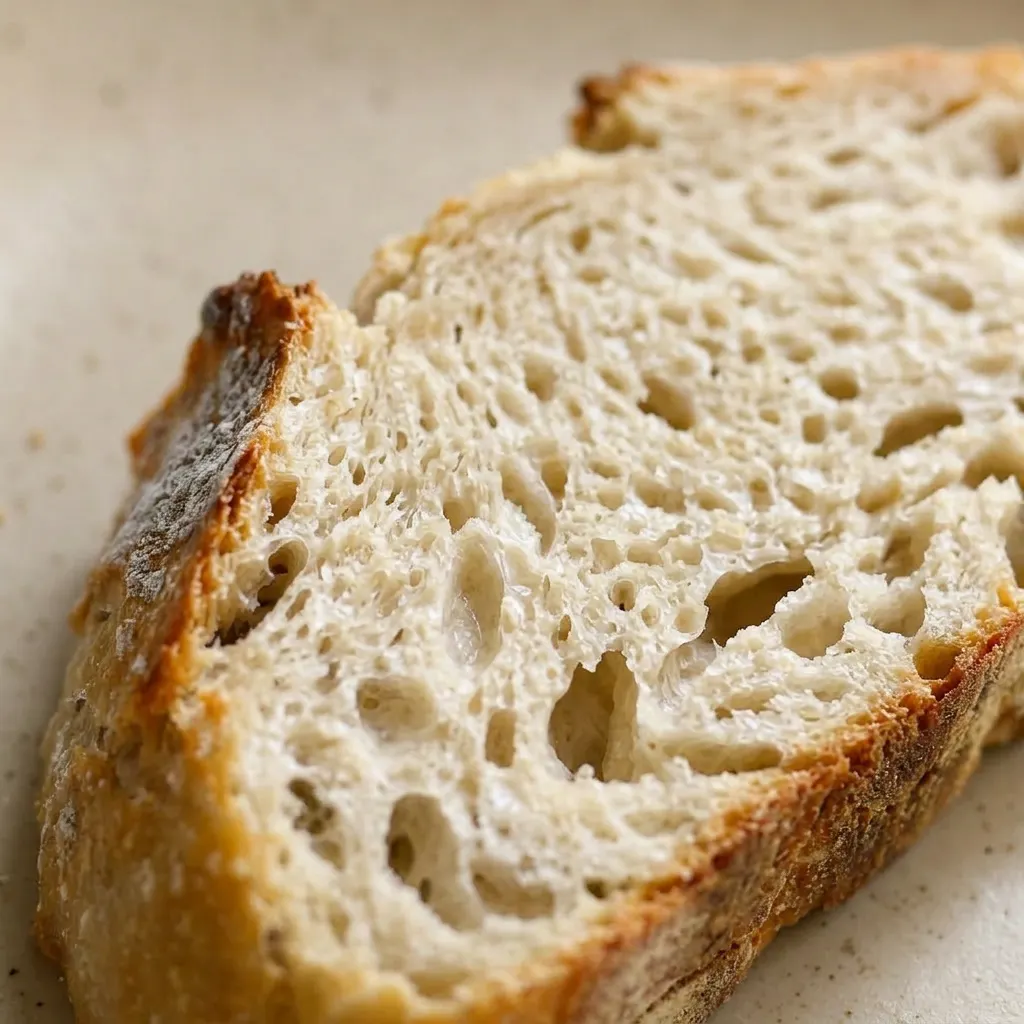
Prep: 5 min · Cook: 40 min · Total: 2 hr 45 min · Servings: 8 · Calories: 190 kcal
A few things about the ingredients
Active dry yeast: One packet is 2 1/4 teaspoons; proofing isn’t needed here, just whisk into warm water.
All-purpose flour: 406 grams is 3 1/4 cups measured by spoon-and-level; too packed a cup throws off hydration.
Warm water: Aim for 100°F (38°C). Much hotter kills the yeast; cooler slows the rise noticeably.
How to get a crackling crust and airy crumb without kneading
Mix the dough
Whisk the water, yeast, and salt until dissolved. Dump in all the flour and stir just until no dry patches remain. The dough should be sticky and shaggy; if it’s soupy, add 1, 2 tbsp flour, if stiff, add 1, 2 tbsp water.
Let it rise
Cover and set in a warm spot for 2 to 3 hours. It should double, with bubbles on top and a webby look when you pull a corner. In a cold kitchen, it won’t double, warm the oven briefly and use that spot.
Preheat the Dutch oven
30 to 60 minutes before baking, put the pot (lid on) in a 450°F oven. After it reaches temp, let it heat 20 more minutes. The pot should be screaming hot for maximum steam.
Shape the loaf
Turn the dough onto floured parchment. Fold the edges toward the center to form a rough ball, then flip it seam-side down. Shape into an oval or round to fit your pot.
Don’t overwork it, handle gently.
Score the top
Use a sharp knife or razor to cut slashes 1/2 inch deep. A decisive slash lets steam escape upward; a dull blade drags and seals the surface, limiting spring. If you skip, expect a random crack.
Bake covered
Lift the loaf (with parchment) into the hot pot, cover, and bake 35 minutes. Don’t peek, you’ll lose steam and the crust will set too early. If your dough was cold, go 40 minutes.
Bake uncovered
Remove the lid and bake 5, 10 more minutes. The crust should turn deep golden and crackly. Let it cool on a wire rack at least 10 minutes, preferably 30, 60, before slicing or the crumb will gum up.
Dutch Oven No Knead Crusty Bread
Ingredients
- 1 1/2 cups warm water about 100°F (40°C) / 38°C
- 1 packet active dry yeast 2 1/4 tsp
- 1 1/2 tsp fine grain salt
- 3 1/4 cups all-purpose flour 406 g
Instructions
Dissolve yeast and salt:
Combine 1 1/2 cups warm water (around 100°F (40°C) / 38°C), 1 packet yeast (2 1/4 tsp), and 1 1/2 tsp fine grain salt in a large bowl. Whisk until the yeast and salt are largely dissolved.Mix flour into dough:
Add all 3 1/4 cups all-purpose flour (406 g) at once. Stir until a sticky dough forms. Avoid overmixing; simply ensure everything is evenly moistened. The dough will be messy and sticky. If it’s too wet, incorporate 1-2 tbsp extra flour; if too dry, add 1-2 tbsp additional water.Let dough rise:
Cover the bowl with a kitchen towel (or leave the lid slightly ajar). Let it rise in a warm spot for 2-3 hours until it doubles in volume. If the environment is cold, briefly warm the oven, turn it off, and place the bowl inside; if warm, leave it out or set it outside.Refrigerate or proceed:
After rising, either bake right away or refrigerate for later use (refer to notes).Preheat oven and pot:
30-60 minutes prior to baking, preheat the oven to 450°F (230°C) with a Dutch oven (lid on) inside. Once the oven reaches 450°F (230°C), continue heating for another 20 minutes to fully heat the pot.Shape dough on parchment:
Turn the dough out onto a floured piece of parchment paper. Fold the edges up to create a rough loaf shape. Using the parchment, flip the loaf over so the floured side is on top and centered. Shape into an oval or circle to fit your Dutch oven.Score loaf top:
Optionally, score the top with a sharp knife or razor blade, making slits about 1/2 inch deep across the top (e.g., a cross pattern).Bake covered then uncovered:
Carefully remove the hot Dutch oven, take off the lid, and lower the loaf (with parchment) into the pot. Cover and bake at 450°F (230°C) for 35 minutes (40 minutes if the dough was cold). Remove the lid and bake for 5-10 more minutes until golden brown. Lift out the loaf using the parchment and cool on a wire rack for at least 10 minutes (preferably 30-60 minutes) before slicing.
Notes
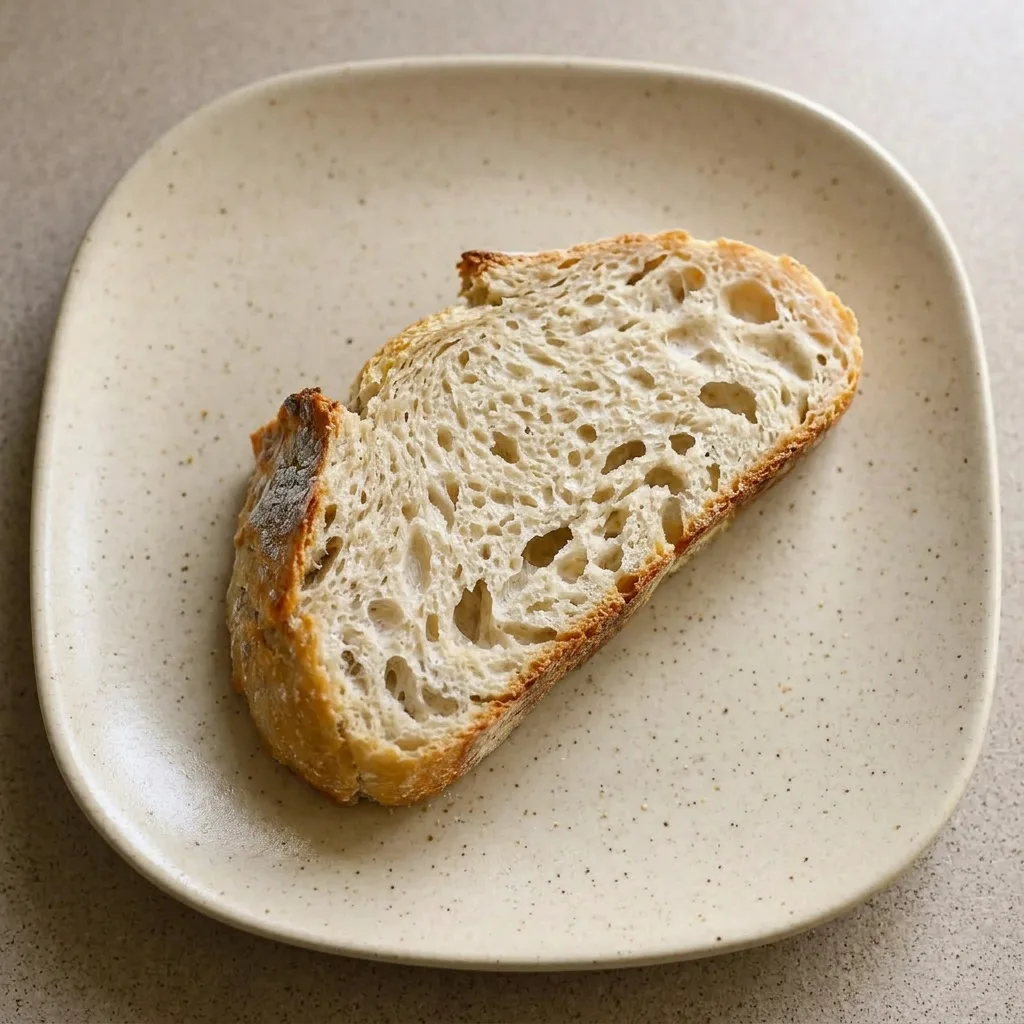
Storage and Serving
Cool the bread completely on a wire rack before storing. A paper bag at room temperature keeps the crust crisp for up to 2 days.
Avoid plastic bags; they trap moisture and turn the crust soft. For longer storage, slice the loaf, wrap tightly in plastic wrap, then foil, and freeze for up to 3 months.
Toast slices directly from frozen to revive the crust. The crumb stays tender; refrigerating the whole loaf stiffens the crumb and speeds staling.
Serve within 4 hours of baking for the best contrast between a crackling crust and airy interior. If you refrigerated the dough, bake it within 2 weeks; cold dough needs an extra 5 minutes covered. After baking, the bread is at its peak the first day, acceptable the second, and best revived by toasting thereafter.
Tips
- Use a digital scale to measure flour by weight rather than volume; 406 grams is precise, and even a slight overmeasure (common with cups) can dry out this high-hydration dough and reduce oven spring.
- If your kitchen is cool (below 70°F), place the bowl of dough on a heating pad set to low or near a warm appliance (like the top of a refrigerator) to ensure it doubles within 2 to 3 hours; cold slows yeast activity and the dough may not rise enough.
What to swap (and what to leave alone) in no-knead bread
All-purpose flour: Bread flour, same weight (406 g). More gluten means a chewier crumb and taller rise, but the crust may be slightly tougher.
All-purpose flour: Whole wheat flour, same weight (406 g). Denser, nuttier loaf with less oven spring. The dough will feel stiffer; add 1, 2 tbsp water if it seems dry.
Active dry yeast: Instant yeast, same amount (2 1/4 tsp). Works fine, no need to proof. The rise may be slightly faster, so check at 1 1/2 hours.
Warm water: Do not swap or change the ratio. This dough’s high hydration is important. Less water = dense, dry crumb; more = flat, gummy loaf.
Frequently Asked Questions
Can I let the dough rise longer than 3 hours?
Yes, but longer than 3 hours in a warm spot can overproof the dough, it’ll collapse, smell sour, and bake flat. If you need more time, refrigerate after 2 to 3 hours; cold slows the rise without overdoing it, and you can bake straight from the fridge (add 5 minutes covered).
My bread didn’t rise much; what went wrong?
Most likely the water was too hot or too cold. At 100°F (38°C) the yeast is active; much hotter kills it, cooler stalls it. Next, check your yeast, old or expired yeast won’t lift.
The dough should double in 2 to 3 hours; if it didn’t, the room was drafty or the yeast was dead.
Can I make the dough ahead and bake later?
Yes. After the 2 to 3 hour rise, cover the bowl tightly and refrigerate up to 2 weeks. Cold dough bakes well, just add 5 minutes to the covered time (40 minutes total) and expect a slightly denser crumb.
The flavor deepens as it sits.
