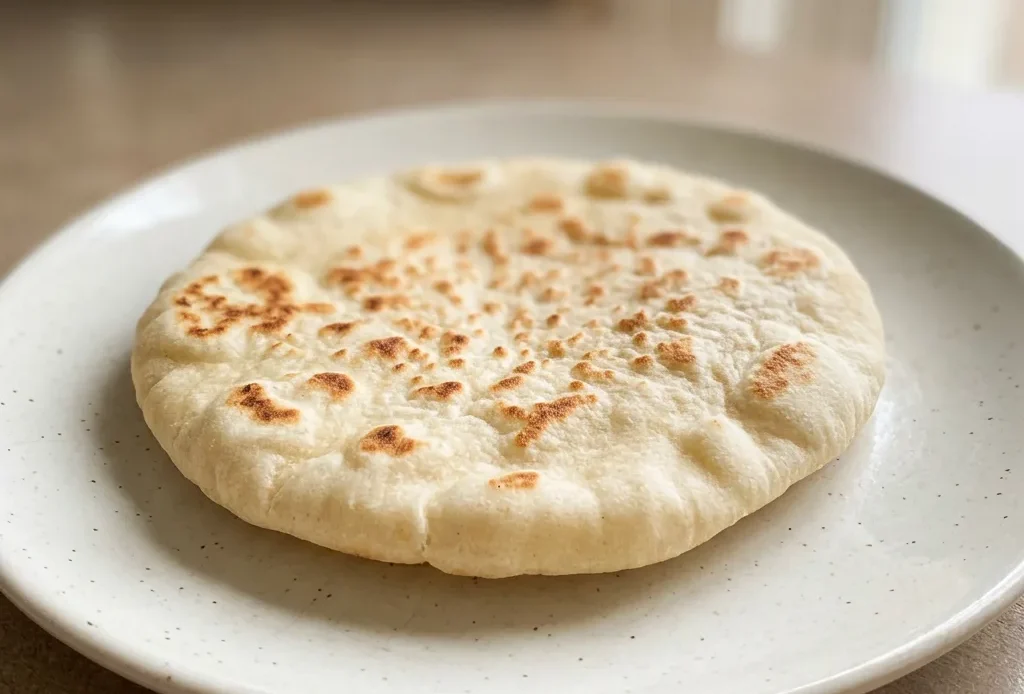
Most home bakers assume pita puffs in the oven, it doesn’t. A screaming-hot skillet or pizza stone is what triggers that dramatic inflation, and getting the heat right is where most attempts go flat.
This homemade pita bread recipe walks you through the visual cues that separate a floppy disc from a proper pocket: the frothy yeast proof, the tacky-but-not-sticky dough, and the bubbles that signal it’s time to flip. It’s not fussy, but it does reward attention to what the dough shows you.
Skip the proof test or roll the balls too soon, and the pocket disappears. Pay attention, and you get the real thing.
Proofing the yeast
You whisk sugar and yeast into warm water, then wait. Within five minutes the mixture turns frothy, a sign the yeast is alive and feeding on the sugar. That froth is carbon dioxide being released.
If no bubbles form, the yeast is dead and your pita will be flat and dense. The sugar kick-starts the yeast, giving it fuel to keep producing gas through the rise. That gas later inflates the dough into airy pockets.
You can see and smell the activity, a yeasty, slightly sweet aroma, and that tells you the dough will rise properly. Skip this check and you risk a limp, unleavened flatbread.
Kneading for gluten structure
Kneading changes a shaggy mass into a smooth, elastic dough that springs back when poked. That springiness comes from gluten, the protein network that traps gas bubbles during baking.
You’ll feel the dough change from sticky to tacky but not wet; after fifteen minutes by hand (ten in a stand mixer) it becomes silky and stretches without tearing. Proper gluten development is what lets the pita puff into a pocket. If you under-knead, the dough won’t hold the steam pressure and the bread stays flat.
Over-kneading makes it tough. The texture you’re after is supple, not stiff, like a soft earlobe.
Let the dough balls rest
After shaping ten balls, you cover them and walk away. That twenty-minute rest relaxes the gluten you just developed. Now I always let the dough balls rest for the full 20 minutes so the gluten relaxes and they puff properly.
If you roll them immediately, the gluten resists, the dough shrinks back, and you get uneven, stubborn disks that won’t puff. Relaxed dough rolls out to a uniform quarter-inch without fighting you, and that even thickness lets steam build evenly inside, creating the signature pocket. You can see the difference: rested dough holds its shape, while tight dough springs inward.
It’s a short pause that pays off in every bite.
High heat and steam: the puffing trick
Pita puffs because water in the dough turns to steam faster than the crust sets. That requires a blazing-hot surface, a skillet or pizza stone at 475°F.
When you slap the disk onto the heat, the bottom firms up in seconds, trapping steam that inflates the dough into a pocket. You’ll see bubbles appear within twenty to thirty seconds; that’s the steam pushing the layers apart. If the pan isn’t hot enough, the steam escapes before the pita can pop, and you’re left with a flat, crackery disc.
Quick cooking (a few minutes total) gives you a soft, puffy bread with a hollow center, ready to split open.
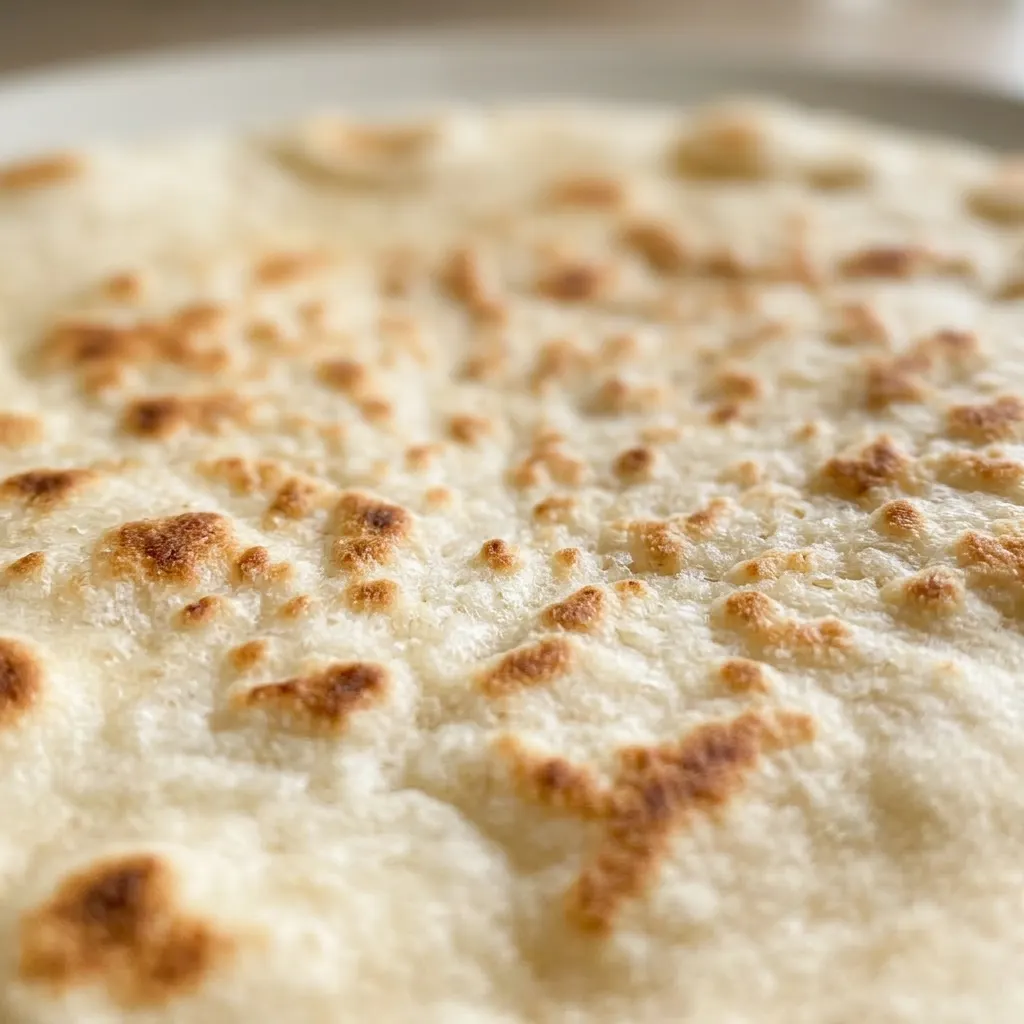
Prep: 20 min · Cook: 25 min · Total: 2 hr 15 min · Servings: 10 · Calories: 170 kcal
What to look for in the ingredients
Active dry yeast: Check the expiration date; old yeast won’t froth in the proofing step.
All-purpose flour: Use unbleached all-purpose flour for the best structure and chew.
Olive oil: Extra virgin is fine, but a mild olive oil keeps the flavor neutral.
Granulated sugar: Just standard white granulated sugar; it feeds the yeast, not sweetens the bread.
Watch for the signs of a living dough
Proof the yeast
Whisk sugar and yeast into warm water, then wait 5 minutes. You’re looking for a frothy head on the water, like a light beer. No foam means dead yeast, start over.
Mix and knead
Add salt, oil, and most of the flour. Stir until a shaggy mass forms, then knead 15 minutes (10 with a mixer). The dough should turn smooth and elastic, not sticky.
Press a finger in; it should spring back slowly.
First rise
Oil the dough, cover, and let it rise until doubled, about 1 hour. Test by poking two fingers into the dough; if the indent stays, it’s ready. If it springs back, give it more time.
Shape and rest balls
Divide into 10 equal pieces (about 2 oz each). Tuck edges under to form smooth balls, then cover and rest 20 minutes. Rested dough rolls out easily; if it shrinks back, it needs more rest.
Roll and cook
Roll each ball into a ¼-inch-thick disk. Cook in a hot, lightly oiled skillet. Within 20 to 30 seconds you’ll see bubbles; flip, then flip again after 20 seconds.
Cook 1 minute more, then flip once. The pita should puff dramatically. If it doesn’t, your pan wasn’t hot enough.
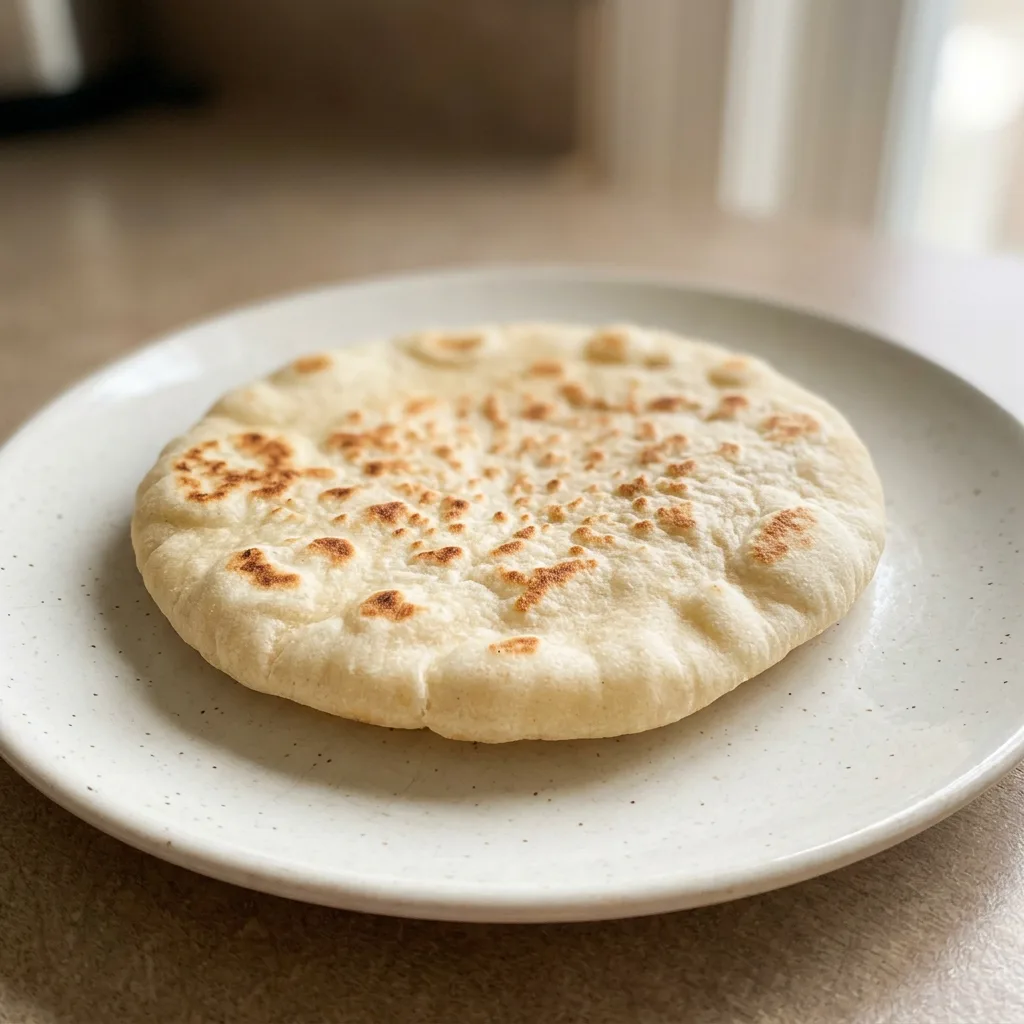
Homemade Pita Bread Recipe (Soft, Puffy & Chewy)
Ingredients
Method
Activate yeast mixture:
In a large bowl, combine the sugar and yeast by whisking, then pour in the warm water and mix. Allow the mixture to sit for about 5 minutes until it becomes frothy, indicating the yeast has activated.Mix dough ingredients:
Mix in the salt and olive oil. Using a wooden spoon, incorporate 2 ½ cups of flour. Keep stirring, adding flour one tablespoon at a time, until the dough begins to separate from the bowl’s sides.Knead dough until elastic:
Lightly flour a work surface with some of the leftover flour. Transfer the dough to the floured surface and knead for 15 minutes until it is smooth, soft, and elastic. (If using a stand mixer with a dough hook, knead for 10 minutes.) Sprinkle additional flour as needed to prevent sticking, but avoid adding too much, which can make the dough tough. The dough should feel tacky but not overly sticky.Oil and return dough:
Fold the edges of the dough inward, then grease the same bowl with olive oil. Place the dough back in the bowl and turn it to coat evenly with oil.Let dough rise:
Cover the bowl with plastic wrap or a clean kitchen towel. Let the dough rise in a warm spot for about 1 hour, until it has doubled in volume. To test, press two fingers into the dough; if the indentation remains, it is ready.Divide and shape balls:
Take the dough out of the bowl and divide it into 10 equal portions, each weighing roughly 2 oz (57g). Shape each portion into a ball by tucking the edges underneath, then cover with a towel and let rest for 20 minutes.Roll pita disks:
Using a rolling pin, flatten each dough ball into a disk about ¼-inch thick (approximately 6 inches in diameter). Imperfect shapes are fine; aim for the best circle or oval possible.Preheat skillet and rest:
Allow the raw pita disks to rest for 5 minutes while you preheat a large cast iron skillet over medium heat. Lightly oil the pan, then place one pita in the skillet.Cook pita first side:
Cook for 20 to 30 seconds until 4 to 5 bubbles appear on the surface, then flip and cook for another 20 seconds. Flip once more and cook for 1 minute, allowing the bread to puff.Flip and puff pita:
Flip again to encourage further puffing, then remove from the pan and cover with a towel to retain steam and keep the pita soft. Repeat with the remaining pitas. Not all will puff dramatically, but they should develop large bubbles. Wrap finished pitas in foil to keep warm.Bake pitas in oven:
For oven method: Preheat a pizza stone or large cast iron skillet in the oven to 475°F (245°C). Brush with olive oil and place as many pitas as will fit without overlapping. Bake for 2 minutes on one side, then flip and bake for 1 minute more.
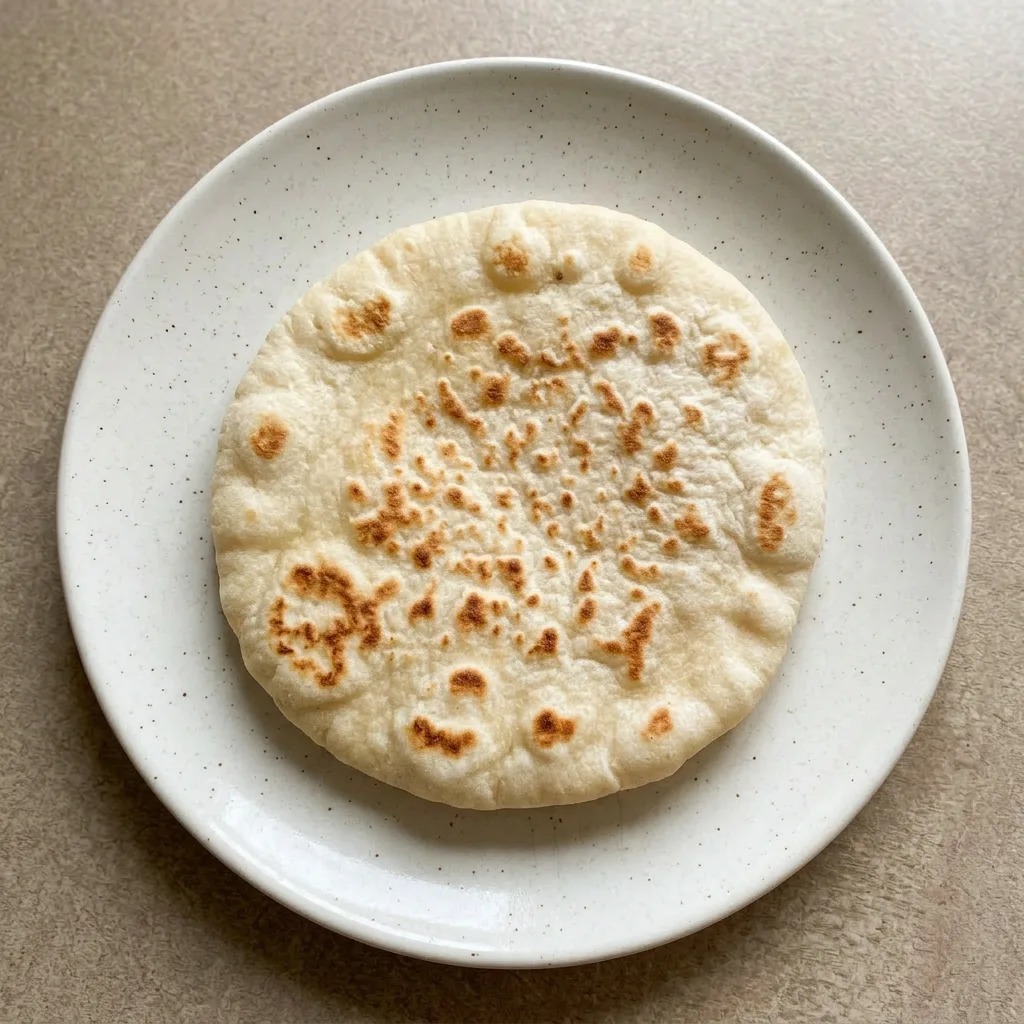
Storage and Serving
Pitas are best eaten within a few hours of cooking, while still warm and soft. If you’re not serving them immediately, stack the cooled pitas in an airtight bag or container.
They keep at room temperature for up to 2 days. After that, the texture stiffens and they become less pliable.
For longer storage, freeze the pitas in a zip-top bag for up to 3 months. To reheat, warm them directly in a dry skillet over medium heat for about 30 seconds per side.
That restores the soft, pliable texture. Avoid the microwave, which makes them tough and rubbery.
If you’re making pitas ahead for a party, cook them fully, cool, and store in the bag. Reheat just before serving.
The final step of covering with a towel after cooking keeps steam trapped, so plan to serve immediately after reheating for the best texture.
Tips
- If the dough springs back quickly when poked after the first rise, it needs more time. But if the indent stays deep and the dough looks deflated, it has over-proofed; punch it down, reshape, and let it rise again for only 20 to 30 minutes before proceeding.
- When rolling pita disks, use a rolling pin with moderate pressure and lift the dough occasionally to let it relax; if the dough shrinks back, let it rest another 5 minutes before continuing.
What to swap, and what to leave alone, in pita dough
Active dry yeast: Instant yeast. Use the same amount (1 tablespoon) but skip the proofing step in warm water, mix it directly with the flour.
The dough will still double, but you lose the visual check that the yeast is alive. Watch the first rise carefully; with instant yeast it may happen faster, so check at 45 minutes.
All-purpose flour: Whole wheat flour. Replace up to half of the all-purpose flour (1½ cups) with whole wheat.
The pitas will be denser, less puffy, with a nuttier flavor and coarser crumb. They need a bit more water; add 1, 2 tablespoons extra if the dough feels dry. Do not swap entirely, 100% whole wheat pitas often stay flat.
All-purpose flour: Gluten-free all-purpose flour blend. Swapping all the flour will produce flat, crumbly pitas that don’t puff because there’s no gluten to trap steam. If you need gluten-free, start with a blend that contains xanthan gum.
The dough will feel different, stiffer and less stretchy. Expect a cracker-like texture, not a pocket. Add 1, 2 tablespoons more water to keep it from being dry.
Olive oil: Butter or vegetable oil. Replace with the same amount of melted butter for a softer, richer crumb, or with vegetable or canola oil for a neutral flavor.
Neither will change the puffing; the oil just tenderizes the dough. Butter adds a bit of browning in the skillet.
Frequently Asked Questions
Why didn’t my pita bread puff up?
Most likely your pan wasn’t hot enough. Pita needs a surface screaming hot, 475°F for the oven method, so water in the dough turns to steam faster than the crust sets. If the pan is too cool, steam escapes before it can inflate the pocket.
Also check that your yeast proofed: if the water-sugar-yeast mixture didn’t turn frothy within 5 minutes, the yeast was dead and the dough never generated enough gas to puff.
Can I make pita dough ahead of time and refrigerate it?
Yes, you can refrigerate the dough after the first rise, not before. After it has doubled (about 1 hour), punch it down, wrap tightly in oiled plastic wrap, and refrigerate up to 24 hours. When ready to cook, divide and shape the balls, then let them rest at room temperature for 30 minutes instead of the usual 20, cold dough needs extra time to relax.
The pitas may puff a little less because cold dough produces less steam, but they’ll still work.
How do I store leftover pita bread to keep it soft?
Stack the cooled pitas in an airtight bag or container at room temperature. They stay soft for up to 2 days; after that the texture stiffens. For longer storage, freeze them in a zip-top bag for up to 3 months.
To reheat, warm them in a dry skillet over medium heat for about 30 seconds per side, this restores the pliable texture. Avoid the microwave, which makes them tough and rubbery.
What’s the difference between pita bread and pocket pita?
None, they’re the same thing. True pita bread is a round, leavened flatbread that puffs during baking, creating a hollow pocket inside.
That pocket is what you split open to fill with sandwiches or tear for dipping. Some commercial pitas are sold as “pocket pita” to emphasize the hollow center, but the dough and method are identical.
Can I freeze homemade pita bread?
Yes, freeze fully cooked and cooled pitas in a zip-top bag for up to 3 months. Stack them with parchment between each to prevent sticking.
To serve, reheat directly in a dry skillet over medium heat, about 30 seconds per side, until warm and pliable. The texture comes back nicely; freezing doesn’t harm the pocket.