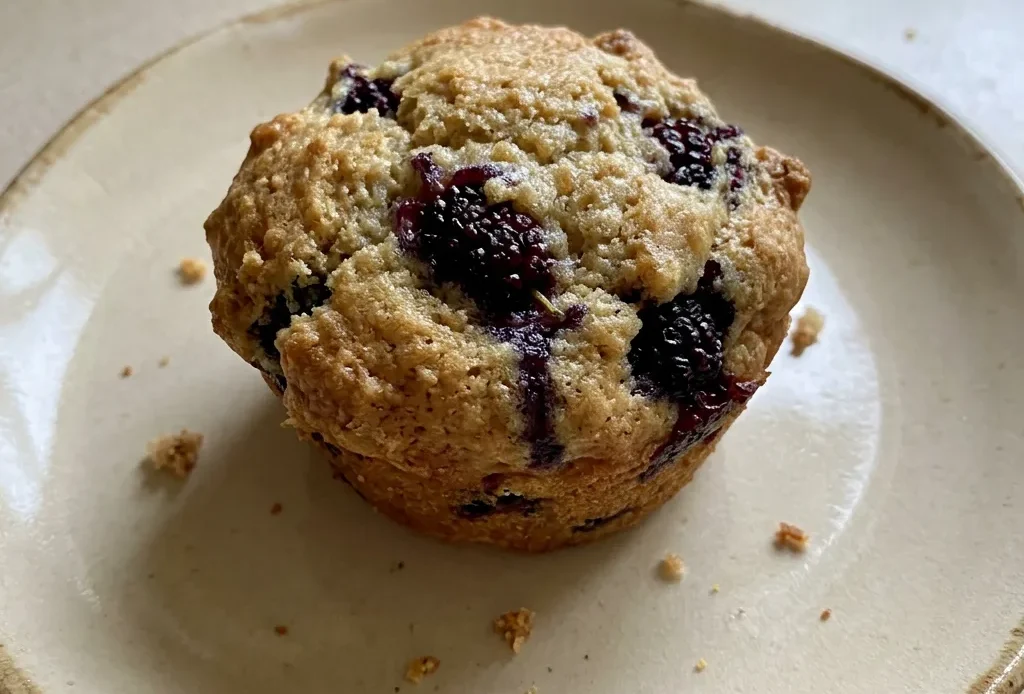
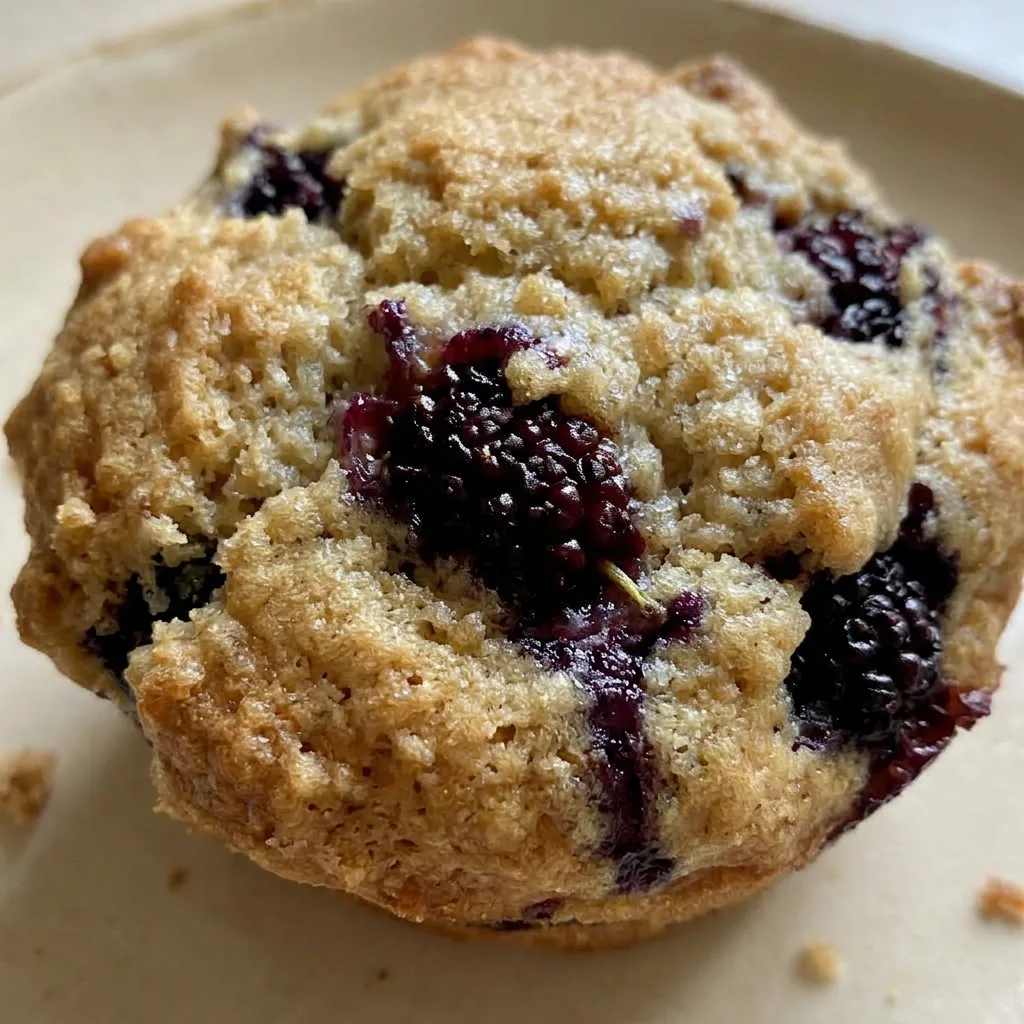
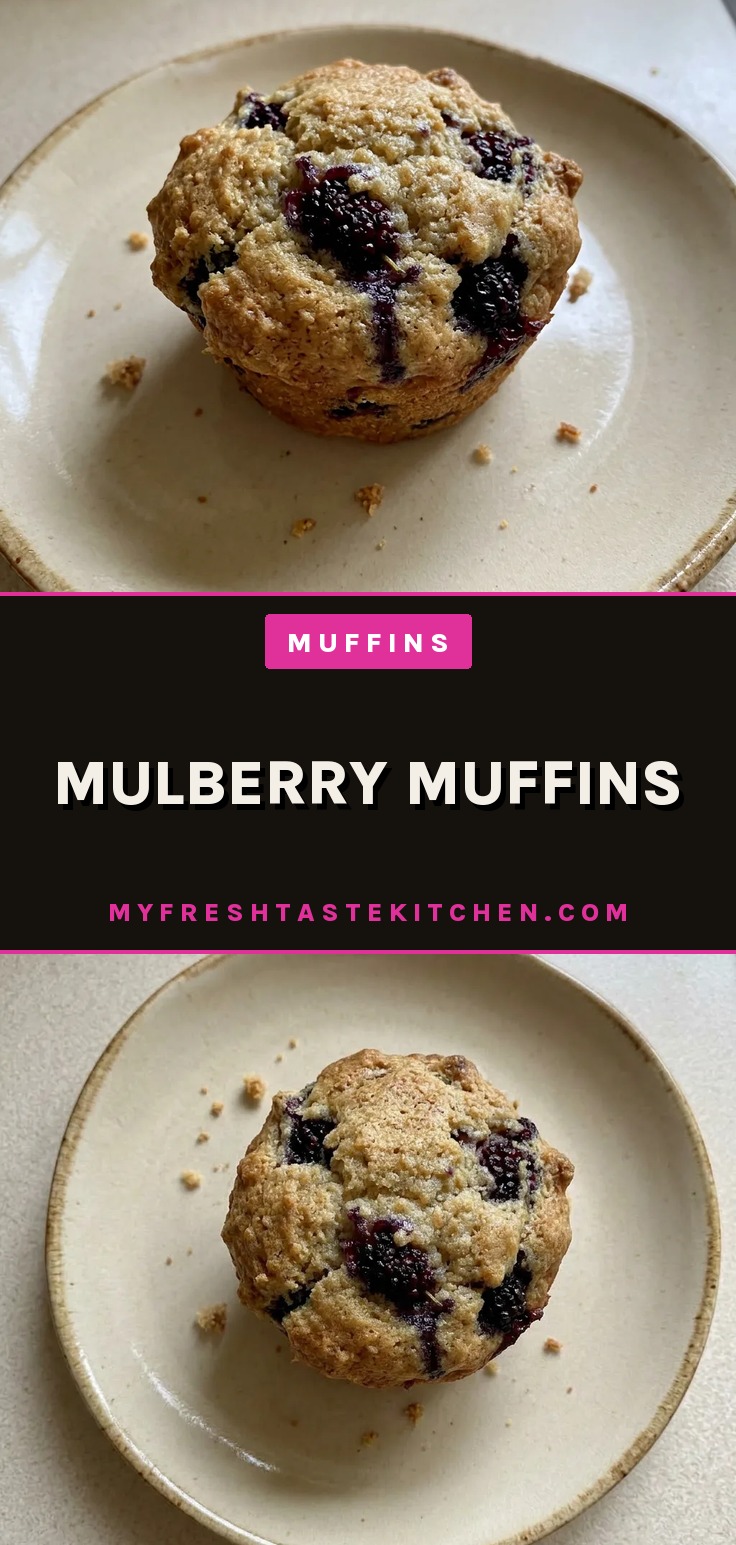
These aren’t your standard blueberry muffins. Mulberries are softer, tarter, and more delicate, they practically melt into the batter during baking, leaving tender pockets of jammy fruit instead of whole-berry surprises.
That contrast between a buttery, cake-like crumb and bursts of tangy juice is what makes mulberry muffins stand apart. The key is handling them gently: fold just enough to distribute, not crush. Get that right, and you’ll have a batch that tastes like a late-summer morning, even if the berries are frozen.
Fold gently for tender muffins
Mulberries don’t behave like blueberries. They are softer and burst during baking, releasing moisture that keeps the crumb delicate.
That juice prevents the batter from drying out, so the muffins stay light rather than turning dense. The gentle folding technique matters because overworking the batter develops gluten and toughens the texture.
You want the flour just barely combined, with a few streaks still visible. Lemon zest brightens the whole thing, cutting through the berry’s natural tartness and making the flavor more complex.
That hit of citrus works especially well when the mulberries aren’t fully ripe.
Choose butter or oil for the crumb you want
Melted butter gives these breakfast muffins a rich flavor and a tender, almost cake-like crumb. Oil, on the other hand, keeps them moist without any dairy, and the texture stays soft for days. The recipe offers both because either works, and the swap won’t change the structure in a noticeable way.
Using melted butter instead of creaming it with sugar simplifies the process and yields a denser, more muffin-like crumb, not the lofty rise of a cupcake. That’s exactly what you want here: a sturdy enough base to hold the berries without falling apart.
Both options deliver a tender bite, so pick based on what’s in your pantry.
Bake at 375°F for even rise and golden tops
That 375°F oven hits a sweet spot. It’s hot enough to set the batter quickly, which stops the mulberries from sinking to the bottom.
At lower temperatures, the berries would drop before the structure firms up. This heat also promotes a domed top and even browning without burning the berries on the surface. The bake time range of 18 to 22 minutes accounts for differences in ovens and how much moisture the berries carry, frozen ones release more juice and may need the extra minute.
You get a consistent golden crust and a fully cooked center every time.
Prep: 10 min · Cook: 20 min · Total: 30 min · Servings: 12 · Calories: 210 kcal
Choose the right mulberries and fat for tender muffins
Mulberries: Fresh or frozen both work; frozen ones release more juice so expect a slightly longer bake.
Melted butter or vegetable oil: Butter gives richer flavor; oil keeps muffins moist longer without dairy.
Lemon zest: Optional but brightens the flavor, especially if the mulberries are tart.
Work the batter just until it comes together
Mix dry ingredients
Whisk flour, sugar, baking powder, and salt in a large bowl. If you see any clumps, break them up, baking powder pockets create bitter spots.
Combine wet ingredients
Beat eggs, milk, melted butter or oil, and vanilla until smooth. The mixture should look uniform with no separated streaks of fat.
Fold wet into dry
Pour the wet mix into the dry and fold with a spatula. Stop when you still see a few flour streaks, overmixing makes muffins tough.
Fold in mulberries
Add mulberries and lemon zest if using. Fold gently; if you see purple streaks, you’re crushing the berries, ease up. They’ll burst in the oven.
Fill the muffin tin
Divide batter among 12 lined cups, filling each about two-thirds full. The batter should mound slightly but not overflow, too much batter causes flat tops.
Bake and test for doneness
Bake at 375°F for 18 to 22 minutes. A toothpick inserted in the center should come out clean or with a few moist crumbs, wet batter means more time.
Cool before serving
Let muffins rest in the pan for 5 minutes, then transfer to a wire rack. Cooling completely sets the crumb; cutting too early makes them gummy.
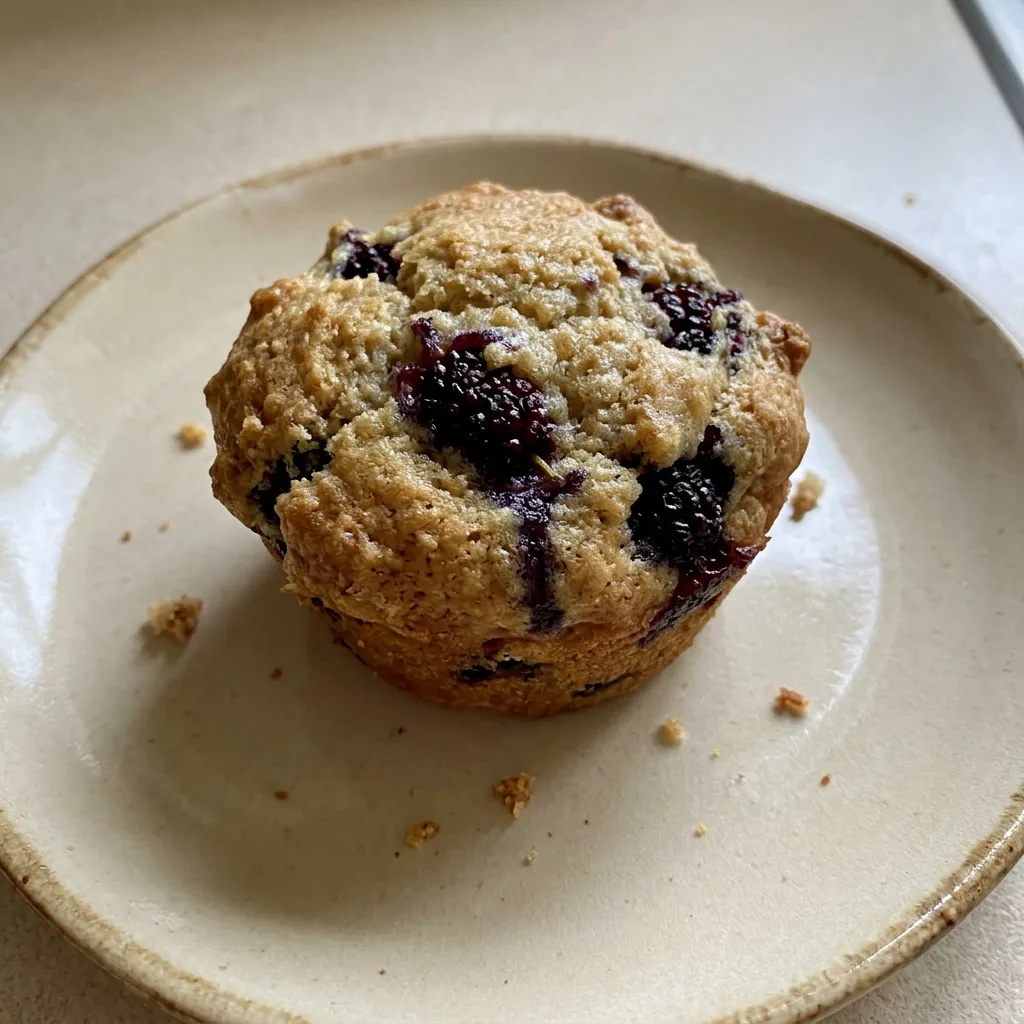
Mulberry Muffins
Ingredients
Method
Preheat oven and prepare tin:
Warm oven to 375°F (190°C). Prepare a muffin tin by lining with paper cups or greasing lightly.Whisk dry ingredients together:
In a big bowl, combine flour, sugar, baking powder, and salt with a whisk.Blend wet ingredients:
In a separate bowl, blend eggs, milk, melted butter or oil, and vanilla extract until uniform.Combine wet and dry mixtures:
Add the wet mixture to the dry mixture and fold gently until barely incorporated.Fold in mulberries gently:
Carefully fold in the mulberries to prevent crushing them.Fill muffin cups evenly:
Evenly portion the batter into the muffin cups, filling each roughly two-thirds full.Bake until golden and done:
Bake for 18–22 minutes until a toothpick inserted in the center emerges clean.Cool muffins on rack:
Allow muffins to rest in the pan for a few minutes, then move to a wire rack to cool entirely.
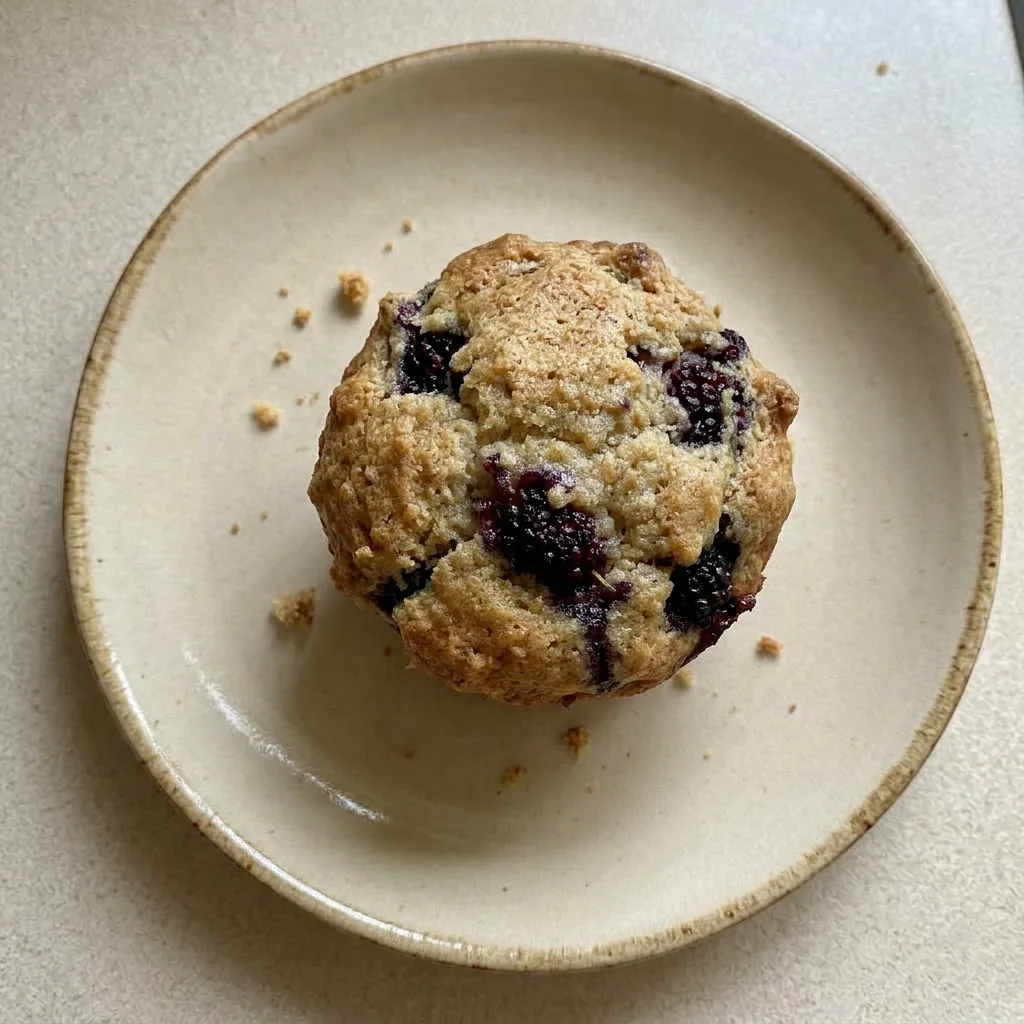
Store and Serve for Best Texture
Mulberry muffins stay moist at room temperature for up to 3 days in an airtight container. The crumb softens slightly over time, but a 10 second reheat in the microwave or a few minutes in a 300°F oven restores the just baked texture. For longer storage, freeze muffins in a sealed bag for up to 3 months.
Thaw at room temperature or reheat directly from frozen. Do not refrigerate; the cold dries them out faster than room air. The serving window for peak texture is within 24 hours of baking, when the tops are still crisp and the inside tender.
If you add lemon zest, it will fade after day one, so eat these early for the brightest flavor. Serve cooled completely, or warm slightly if you prefer a softer crumb.
Tips
- If using frozen mulberries, toss them with 1 tablespoon of the measured flour before folding into the batter. The coating helps suspend them evenly and reduces bleeding.
- For taller, domed tops, let the batter rest for 10 minutes after mixing before filling the muffin cups. This allows the starch to hydrate and the baking powder to start reacting, giving a better rise.
Mulberries are delicate, handle frozen ones without thawing
Mulberries: Frozen mulberries can be used straight from the freezer; do not thaw them first. Thawed mulberries turn mushy and bleed excess juice into the batter, making the muffins soggy and purple-streaked instead of tender with distinct berry pockets.
Lemon zest: Orange zest works in equal amount, or skip it entirely. Orange zest adds a sweeter, milder citrus note. Without it, the muffins are still good but lack the brightness that cuts through the berries’ natural tartness.
All-purpose flour: Use a 1-to-1 gluten-free baking blend (with xanthan gum) in the same weight. The crumb will be slightly more delicate and may brown faster, check doneness a minute early. A blend without xanthan gum will make the muffins crumbly and dry.
Melted butter or vegetable oil: For dairy-free, use vegetable oil; for richer flavor, stick with melted butter. Oil keeps the muffins moist longer at room temperature, while butter gives a fuller flavor and a slightly firmer crumb. Both yield tender muffins; the choice depends on your taste and dietary needs.
Frequently Asked Questions
Can I use frozen mulberries without thawing them first?
Yes, add them straight from the freezer. Thawing first turns them mushy and bleeds excess juice into the batter, making the muffins soggy and purple-streaked. Frozen berries hold their shape better during folding and release juice only during baking, which keeps the crumb tender.
How do I keep the muffins from sticking to the paper liners?
Use good-quality paper liners, and let the muffins cool in the pan for 5 minutes after baking, then transfer them to a wire rack. Waiting longer in the pan traps steam and makes the liners stick. If you still get sticking, try greasing the liners lightly with cooking spray before filling.
Can I make the batter ahead of time and bake later?
No, bake the batter immediately after mixing. The baking powder starts reacting as soon as it hits the wet ingredients, so waiting causes the muffins to rise poorly and turn dense. For make-ahead, bake the muffins fully, cool, and freeze them for up to 3 months.
