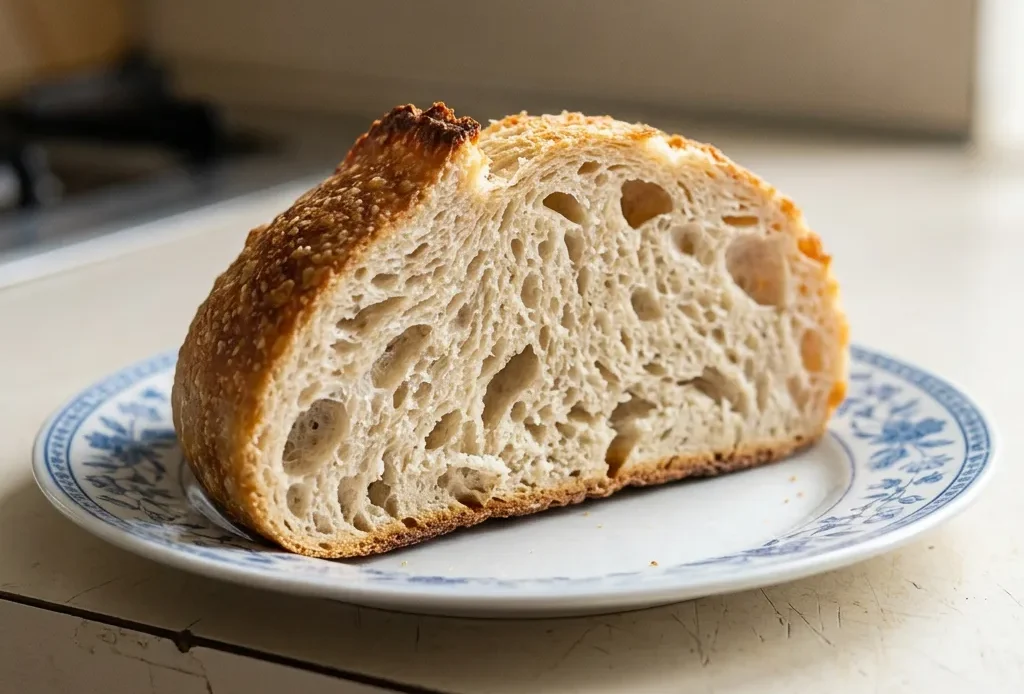
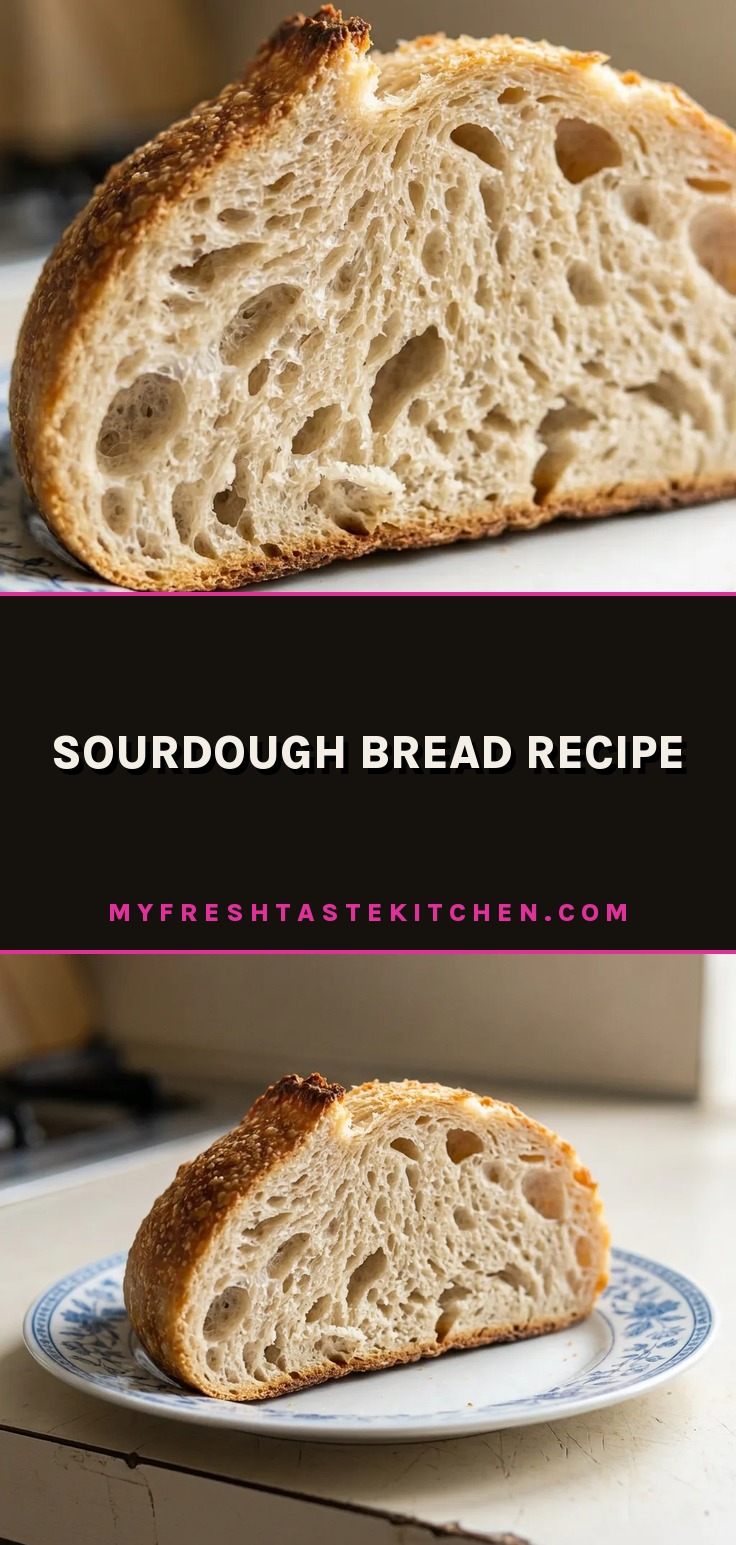
That first bite of a properly crusty, open-crumbed sourdough is a milestone for every home baker. This sourdough bread recipe gets you there by pushing hydration higher than a typical beginner loaf, which is exactly what makes the dough feel unmanageable at first. You’ll fight stickiness, worry about slackness, and wonder if it will ever hold shape.
That struggle is the point: wet dough is what gives you those irregular holes and a crackling crust. The cold proof seals the flavor, turning a long wait into a commitment that pays off.
High-Hydration Dough
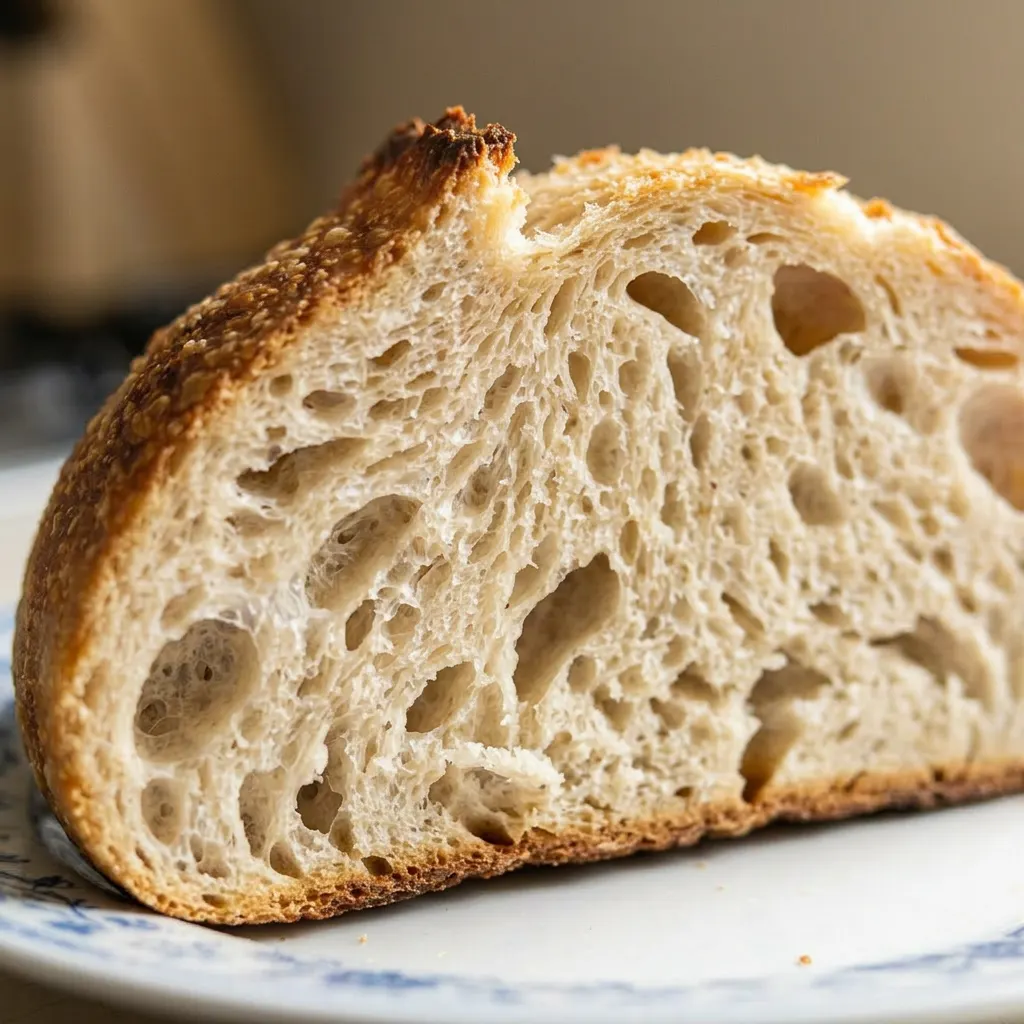
That 300 grams of water to 400 grams of flour is what gives sourdough its signature open crumb and chewy bite. At 75% hydration, the dough feels sticky and slack, that’s exactly what you want.
High water content lets gluten strands stretch further during fermentation, trapping gas bubbles that become air pockets in the baked loaf. Wet hands aren’t a sign of trouble; they’re the tool you need to handle this dough without it sticking to everything.
The stickiness tells you the gluten network is forming. You’ll feel the dough go from shaggy to smooth as it develops, but it never firms up like a low-hydration dough. That slackness is what allows the crumb to open up instead of staying tight and dense.
If you’re used to stiffer doughs, this one will surprise you, it’s supposed to feel almost too wet to work.
Flavor from the Cold
That 12- to 18-hour rest in the fridge does more than make the dough easier to handle. Cold slows yeast activity while letting bacteria keep working, which builds a tangy sourness you can’t rush at room temperature.
The dough firms up, too, you’ll notice it holds its shape when you turn it out, so scoring is cleaner and the loaf doesn’t flatten. Chilling also relaxes the gluten just enough to prevent tearing during the final shape. When you pull the banneton from the fridge, the dough should feel cool and slightly puffy, not fully doubled.
That cold firmness means it will sit up tall in the Dutch oven rather than slumping into a pancake. A simple bread recipe like this one relies on that long cold proof for depth of flavor that a same-day bake just can’t touch.
Steam-Trapping Dutch Oven
A preheated Dutch oven at 450°F is the reason you get that crackling crust and dramatic oven spring. The moment the cold dough hits the hot pot, steam erupts from the dough’s surface. Because the pot is sealed, that steam stays trapped, keeping the crust soft and elastic while the interior expands.
After 20 minutes covered, the crust sets, and removing the lid lets the remaining moisture evaporate, turning the surface crisp and golden. Without that initial steam environment, the crust would set too early and stop the loaf from rising fully.
The preheat matters, a cold pot won’t generate enough steam fast enough. Easy bread recipes for beginners often skip this step, but the difference in crust and height is stark. You’ll hear the bread crackle as it cools, a sound that tells you the crust is doing its job.
Prep: 30 min · Cook: 40 min · Total: 15 hr 10 min · Servings: 12 · Calories: 130 kcal
What to Look For in Each Ingredient
Bread flour: Use a flour with 12, 13% protein to build strong gluten; all-purpose won’t give the same crumb structure.
Sourdough starter: Your starter should be bubbly and at peak rise, fed 3 to 4 hours before mixing for best activity.
Brown rice flour: Use this for dusting the banneton; its fine grind prevents sticking better than wheat flour.
I still wet my hands before every pinch, even though it feels fussy, it stops the dough from gluing to my fingers and tearing.
Working Wet Dough: A Step-by-Step Walkthrough
Mix the Dough
Combine water and starter first; add flour and mix with a dough whisk or your hand until no dry bits remain. The mass will be shaggy and sticky, clinging to everything, that’s correct. If it looks dry, you’ve mis-measured.
Add Salt with Pincer Method
Sprinkle salt over dough, then wet your hands. Pinch and fold sections repeatedly until salt disappears.
You’ll feel the dough tighten slightly as salt works in. If it tears instead of pinching, your hands aren’t wet enough.
Rest and Stretch-Fold
Cover and rest 20 to 30 minutes. Then perform two rounds of stretch-folds: lift and fold each quadrant. After the first round, dough feels slack; after the second, it holds a soft dome.
If it still pools flat, do an extra fold.
Bulk Ferment at Room Temp
Cover with a towel and let ferment 1½, 2 hours at 75°F. The dough should nearly double, showing bubbles on the surface and a faint sour smell. Under-proofed dough feels dense and lacks bubbles; over-proofed turns slack and soupy.
Shape and Cold Proof
Turn dough out, shape into a boule or batard, and place seam-side down in a floured banneton. Dust top with brown rice flour, cover with plastic, and refrigerate 12 to 18 hours. The dough should feel firm and cool, not puffy.
Preheat Dutch Oven
Place Dutch oven in a 450°F oven for at least 30 minutes before baking. The pot must be screaming hot, if you see no wisps of smoke when you add the dough, wait longer.
Bake Covered and Uncovered
Turn dough onto parchment, score deeply, and transfer to hot pot. Cover and bake 20 minutes, then remove lid and bake 15 to 20 minutes more. The crust should be deep golden brown and sound hollow when tapped.
Pale crust means under-baked.
Cool Completely
Remove bread to a wire rack and cool 30 to 60 minutes before slicing. The loaf will crackle as it cools, that’s steam escaping. Cutting too early yields a gummy crumb; wait until it’s barely warm to the touch.
Sourdough Bread Recipe
Ingredients
- 1 1/4 cups water 300 grams
- 1/2 cup starter 100 grams
- 3 cups bread flour 400 grams, see note
- 2 teaspoons sea salt 12 grams
- bread flour or brown rice flour, for dusting
Instructions
Refresh sourdough starter:
3-4 hours prior to baking, refresh your sourdough starter.Combine water and starter:
Using a dough whisk or your hands, combine the water and starter.Mix flour into dough:
Incorporate the bread flour into the starter mixture, mixing thoroughly until a shaggy, sticky dough forms.Add salt and rest:
Work in the salt with the pincer method: wet your hands to minimize stickiness, then pinch the dough between thumb and forefinger, fold it over, and pinch again. Cover the bowl with a lid, plate, or plastic wrap and let it rest for 20-30 minutes.Stretch and fold dough:
Perform a set of stretch and folds: gently lift a section of dough and fold it toward the center. Turn the bowl by a quarter rotation and repeat at the 12, 3, 6, and 9 o’clock positions. Do this sequence twice for a total of 8 folds. Cover and let rest for 30 minutes, then do another round of stretch and folds. Cover the bowl with a towel and let it ferment at room temperature (75°F (25°C)) for 1 1/2 to 2 hours, or until nearly doubled in size.Shape and proof dough:
Shape the dough into a boule (round) or batard (oval). Dust a banneton with brown rice flour, place the dough seam-side down in the basket, dust the top with more brown rice flour, and cover with plastic.Cold proof overnight:
Refrigerate the banneton for a cold proof of 12-18 hours.Preheat Dutch oven:
Preheat a Dutch oven in a 450°F (230°C) oven for at least 30 minutes.Score and bake bread:
Remove the dough from the fridge and turn it out onto parchment paper. Score the top and promptly transfer it to the hot Dutch oven to minimize time at room temperature. Bake covered at 450°F (230°C) for 20 minutes, then uncovered for 15-20 minutes.Cool bread completely:
Take the bread out of the Dutch oven and let it cool on a wire rack for 30-60 minutes before slicing. Patience is key; internal baking continues during this period.
Storage and Serving
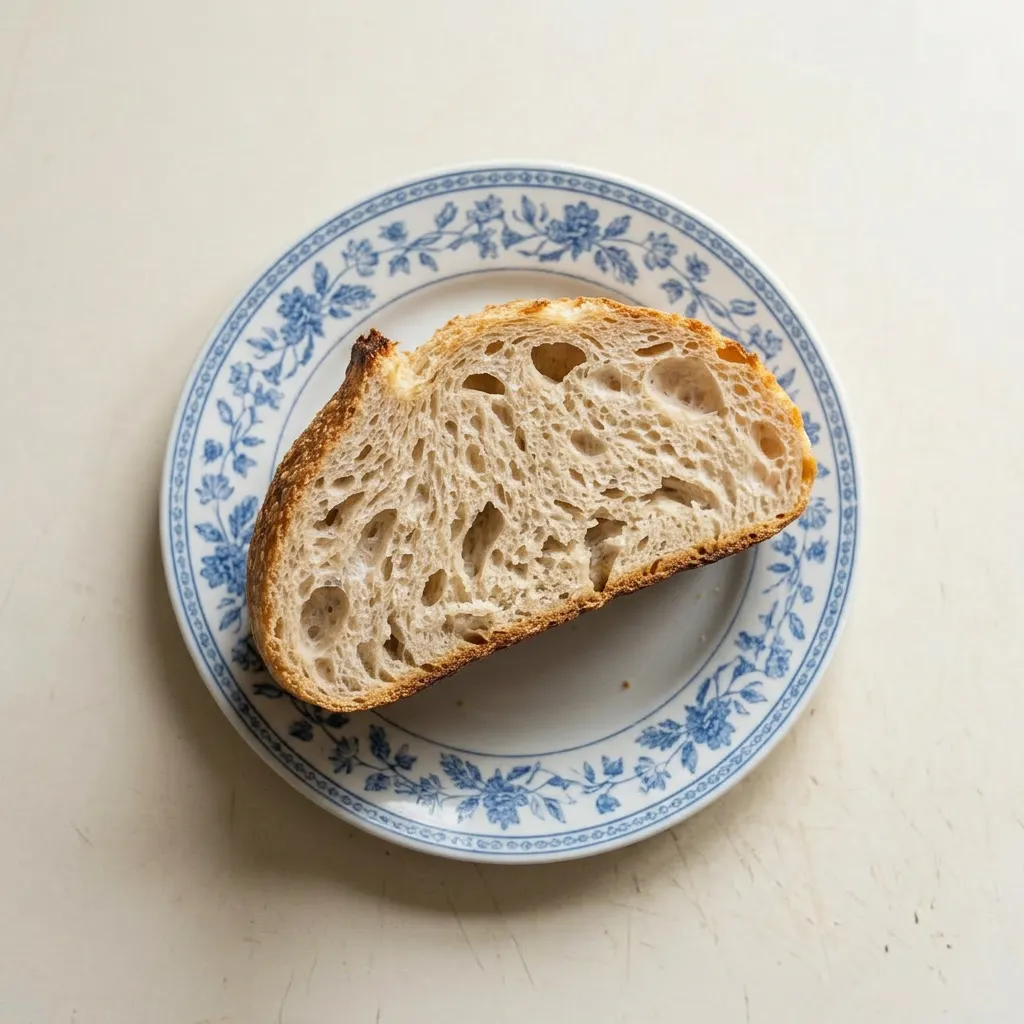
Cool the bread completely on a wire rack, at least 30 minutes, before storing. For the best crust, store the loaf cut-side down on a cutting board at room temperature, uncovered. This keeps the crust crisp for about 1 day.
After that, the crust softens as moisture redistributes. For longer storage, wrap the cooled bread tightly in plastic wrap and freeze for up to 3 months. Thaw at room temperature still wrapped, then reheat in a 350°F oven for 5 to 10 minutes to refresh the crust.
Sliced bread keeps at room temperature in a paper bag for 2 days; the cut surface dries out faster, so press it against the cut side of the remaining loaf. Do not refrigerate whole or sliced bread: the starch retrogrades faster, turning the crumb stale and dry. For the best texture, serve the bread within a few hours of baking, when the crust is still crackling and the crumb is tender.
If you baked ahead, reheat slices in a toaster or oven just before serving.
Bread Flour Is Your Best Bet Here, but All-Purpose Works
Bread flour: All-purpose flour. Use the same weight (400 grams). Expect a softer, less chewy crumb with smaller air pockets.
The dough feels slightly less elastic during stretch and folds, but it still bakes into a good loaf, just not as open.
Sourdough starter: None. This is not a swap.
The starter provides both leavening and flavor. Without it, you’d need commercial yeast and a different method.
Leave it as is.
Sea salt: Table salt or kosher salt by weight, not volume. If using table salt, reduce to 10 grams (it’s denser); for kosher, increase to 15 grams (flakier). Too much salt slows fermentation noticeably; too little makes the bread taste flat.
Brown rice flour (for dusting): Any finely ground gluten-free flour like white rice flour, sorghum, or tapioca starch. These all prevent sticking in the banneton without adding gluten.
Wheat flour works too but can make the dough tackier. Stick with a fine, non-wheat flour for easiest release.
Tips
- Use a straight-sided, clear container to track your starter’s rise more accurately. Mark the starting height with a rubber band, then check if it doubles within 4 to 6 hours. If it doesn’t, your starter isn’t active enough for this high-hydration dough and you’ll get a dense loaf.
Frequently Asked Questions
Can I skip the cold proof and bake the same day?
You can, but you’ll lose the tangy sourness and the firm dough that holds its shape when scored. The cold proof builds flavor and makes the dough easier to handle. If you skip it, the dough will be stickier and the loaf may spread more in the oven.
The crumb will be less open and the flavor milder.
Why is my sourdough bread dense and not rising?
Most likely your starter wasn’t active enough. Use it when it’s bubbly and at peak rise, about 3 to 4 hours after feeding. Another possible cause: the dough didn’t ferment long enough during bulk fermentation.
Look for nearly doubled size and bubbles on the surface before shaping. If both are fine, check your oven temperature; a too-cool oven won’t give good oven spring.
How do I know when my starter is active enough to use?
It should be bubbly and at least doubled in volume within 3 to 4 hours of feeding. The surface will show small and large bubbles, and it should smell pleasantly sour, not like acetone or alcohol. When you scoop a spoonful, it should feel light and airy, not dense.
Can I use all-purpose flour instead of bread flour?
Yes, use the same weight (400 grams). The dough will feel less elastic and the baked loaf will have a softer, less chewy crumb with smaller air pockets. It’s still a good loaf, just not as open as with bread flour.
