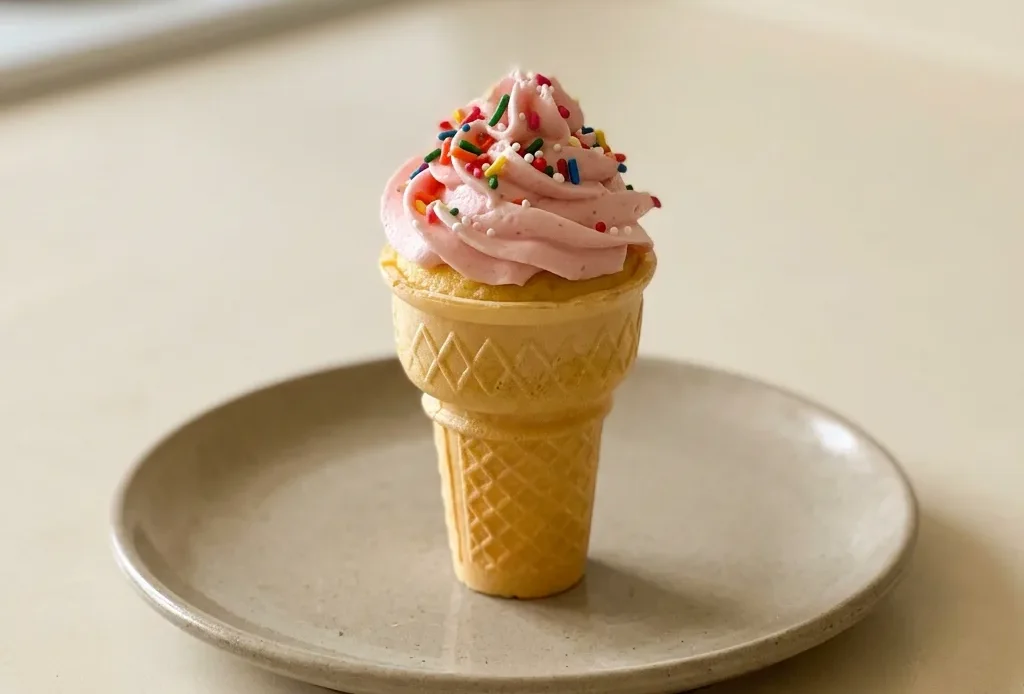
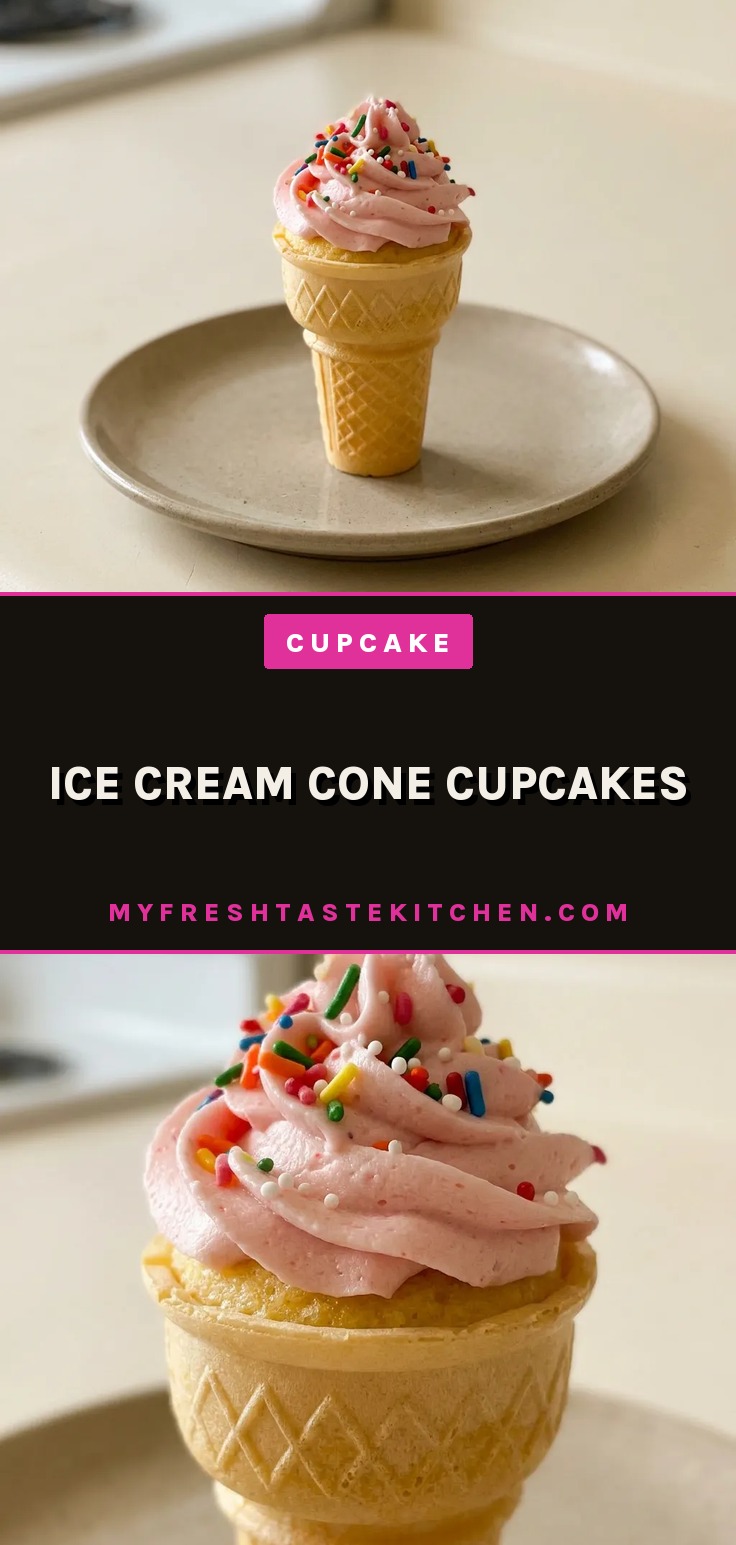
Baking cake batter inside an ice cream cone sounds gimmicky, but the trick is getting the cone to stay crisp while the cake bakes through. The window between underdone and soggy is narrower than with paper liners, because the cone both absorbs moisture and conducts heat. Get the fill level right and the oven temperature moderate, and you’ll have a handheld cupcake that doesn’t need a plate, just a steady hand with the frosting.
I once filled the cones almost to the rim, and after baking they overflowed and the bottoms turned mushy. Then I frosted them while still warm, and the frosting slid right off into a puddle.
Use cake cones as edible wrappers
Cake cones have flat bottoms, so they stand upright in muffin tins without wobbling. No paper liners needed. As the batter bakes, moisture migrates into the cone, softening the interior slightly while the outside stays crisp.
That contrast, tender cake meeting crunchy cone, is exactly what you want. The cone absorbs just enough to meld with the cake, not enough to turn soggy. You get a built-in handle that tastes good too.
Fill cones halfway for even baking
Half full is the sweet spot. That leaves room for the batter to rise without spilling over the cone’s rim. Overfill and you get overflow that bakes onto the pan; underfill and there’s a gap between cake and cone.
The cone’s narrow base means even a small excess can cause a mess. Stick to half and you’ll see the cupcake crown just above the cone edge, baked through evenly. No cracked tops, no raw centers.
Cool completely before frosting
Warm cones turn buttercream into a puddle. The heat also softens the cone’s crunch, making it chewy instead of crisp. A wire rack lets air circulate all around each cone, so cooling happens fast and evenly.
I wait until every cone feels room-temperature to the touch. Now I fill cones only half full and let them cool completely on a wire rack before even thinking about frosting.
Patience pays off: the frosting stays put, the cone stays crunchy, and the first bite gives you that clean snap.
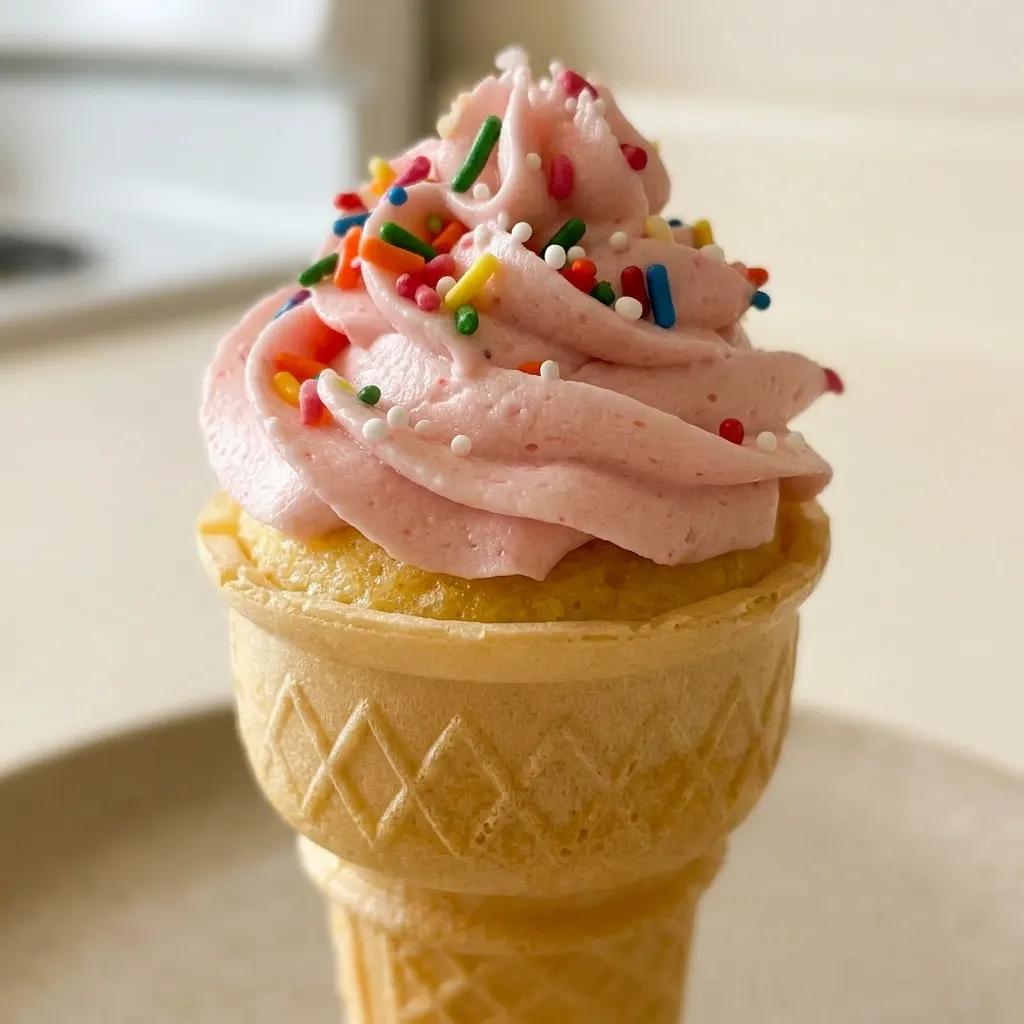
Prep: 5 min · Cook: 12 min · Total: 17 min · Servings: 30 · Calories: 120 kcal
Pick the right box cake mix and cones
Box cake mix: Yellow, white, or chocolate all work. Pick a flavor you like; the batter stays tender in the cone.
Ice cream cones: Use cake cones with flat bottoms. They stand in a muffin tin and hold up to baking without breaking.
Vegetable oil: Use a neutral oil like vegetable or canola. It keeps the cake moist without adding flavor.
Buttercream frosting: Stick with a sturdy buttercream. Whipped or cream cheese frostings are too soft for piping on cones.
Sprinkles: Add them right after frosting so they stick. Any edible decorations work; just press lightly.
Bake cones directly in the muffin tin
Heat oven to 325°F
Set the rack in the middle. Too hot and the cones darken before the cake sets; too cool and they don’t crisp. 325°F is the sweet spot.
Mix the batter
Follow the box instructions for mixing. Beat until smooth, no lumps. Overmixing makes the cake tough, but a quick, thorough blend gives a tender crumb that rises evenly in the cone.
Fill the cones
Set each cone flat in a muffin cup. Spoon batter until half full, about 2 tablespoons.
If you go over, the batter may spill and burn on the pan. Under-fill and the cake recedes below the rim.
Bake until done
Bake 12 to 17 minutes. At 12 minutes, start checking: a toothpick inserted in the center should come out clean, and the cake should spring back when pressed. Overbaking dries the cake and makes the cone brittle.
Cool on a wire rack
Let the cones sit in the tin for 2 minutes, then transfer to a rack. Cooling in the tin traps steam and softens the cone. On the rack, air circulates so the cone stays crisp and the cake cools quickly.
Ice Cream Cone Cupcakes
Ingredients
- 1 box cake mix (yellow, white or chocolate)
- 1/2 cup vegetable oil
- 3 large eggs
- 30 ice cream cones (cake cones with flat bottoms)
- Buttercream frosting or Chocolate Buttercream frosting
- Sprinkles or other edible decorations
Instructions
Preheat oven:
Heat oven to 325°F (165°C).Mix cake batter:
In a big bowl, mix cake mix, water, oil, and eggs. Beat on medium speed until smooth. (If the box instructions differ, follow those for mixing.)Fill cones:
Set each cone flat side down into a muffin tin. Spoon batter into cones until half full.Bake cones:
Bake for 12-17 minutes, checking with a toothpick; it should come out clean.Cool and frost:
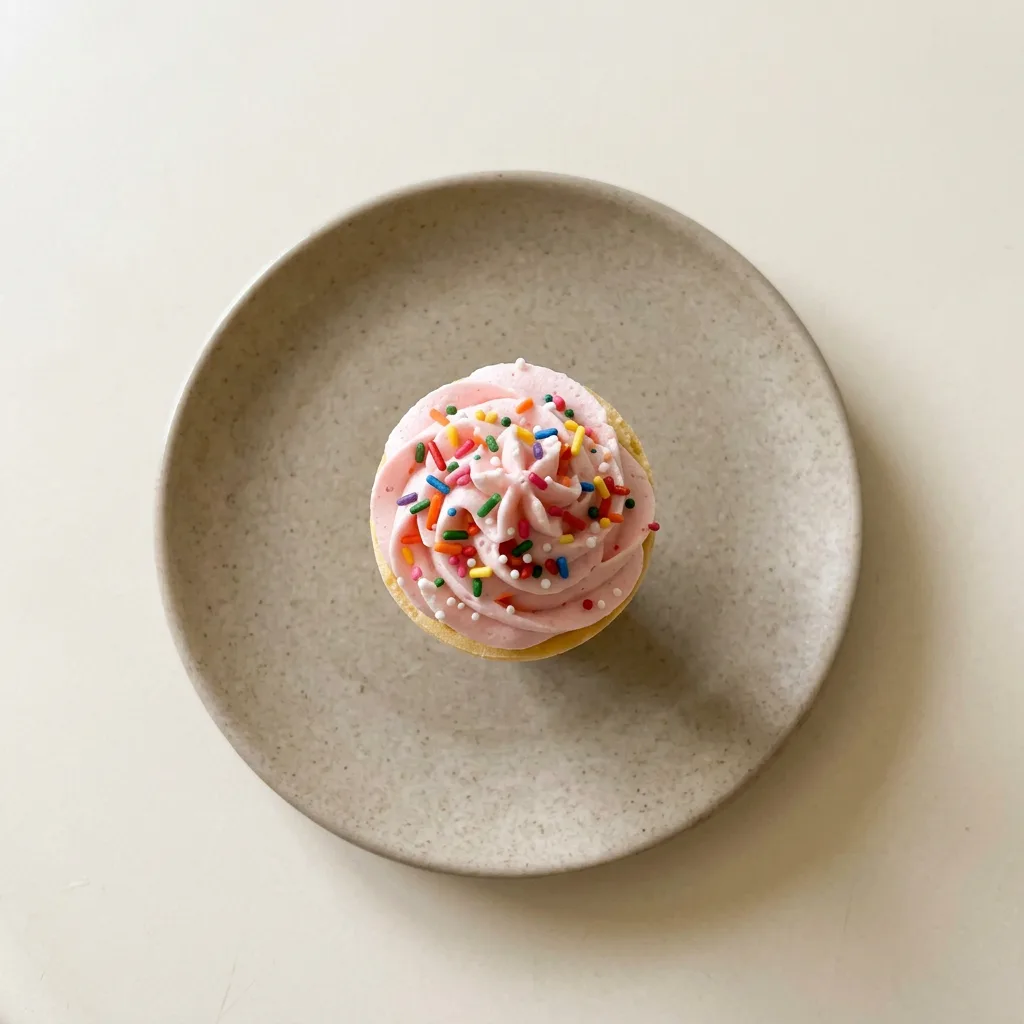
Allow to cool fully, then frost and decorate.
Swap the cake mix, not the cones or oil
Box cake mix: Gluten-free cake mix (like King Arthur or Bob’s Red Mill). The cake will be slightly denser and less tender, but it still bakes up fine inside the cone. Check the box for any added water or egg adjustments.
Box cake mix: Different flavor mix (red velvet, lemon, or funfetti). Flavor changes, but the batter behaves the same. Red velvet’s color may tint the cone slightly; no big deal.
Buttercream frosting: Store-bought canned frosting. Works, but canned frosting is softer and may slide off warm cones. Chill the cones after frosting to set it.
Tips
- Tap the filled cones gently on the counter to settle the batter and remove air bubbles before baking. This prevents large air pockets that can cause uneven rising and a gummy spot inside the cake.
- Use a cookie scoop to portion the batter into the cones. It gives you exactly 2 tablespoons per cone, keeping fill levels consistent so all cones bake evenly without overflow.
Storage and Serving
For the best texture, serve these cupcake cones within a few hours of frosting. The cone stays crunchiest for about 4 hours after assembly, then slowly softens. If you’re making them ahead, store unfrosted cones in an airtight container at room temperature for up to 2 days; the cake stays moist and the cone remains crisp.
Frost only before serving to preserve that contrast. Leftover frosted cones keep in the fridge for 1 day, but the cone will turn chewy. You can freeze unfrosted cones: wrap them individually in plastic and freeze for up to 1 month.
Thaw at room temperature for 30 minutes, then frost. Freezing frosted cones isn’t recommended because the buttercream picks up fridge odors and the cone softens further. For best results, plan to assemble and serve within a day.
Frequently Asked Questions
Can I make these ahead of time, and how should I store them?
Yes, make them ahead unfrosted. Store in an airtight container at room temperature for up to 2 days; the cake stays moist and the cone stays crisp.
Frost only before serving to preserve that crunch. For longer storage, freeze unfrosted cones individually wrapped in plastic for up to 1 month.
Thaw at room temperature for 30 minutes before frosting.
Why did my cones get soggy after baking?
Soggy cones usually mean you overfilled them, batter should only fill halfway. Too much batter releases more moisture than the cone can handle.
Another cause is cooling in the muffin tin: steam gets trapped and softens the cone. Move them to a wire rack after 2 minutes so air circulates and keeps the cone crisp.
Can I use sugar cones or waffle cones instead of cake cones?
Stick with cake cones for this recipe. They have flat bottoms that stand upright in a muffin tin without tipping. Sugar and waffle cones are pointed and angled, they won’t sit level, so batter spills or bakes unevenly.
The texture also differs: cake cones absorb just enough moisture to meld with the cake; sugar cones turn brittle or overly soft.
