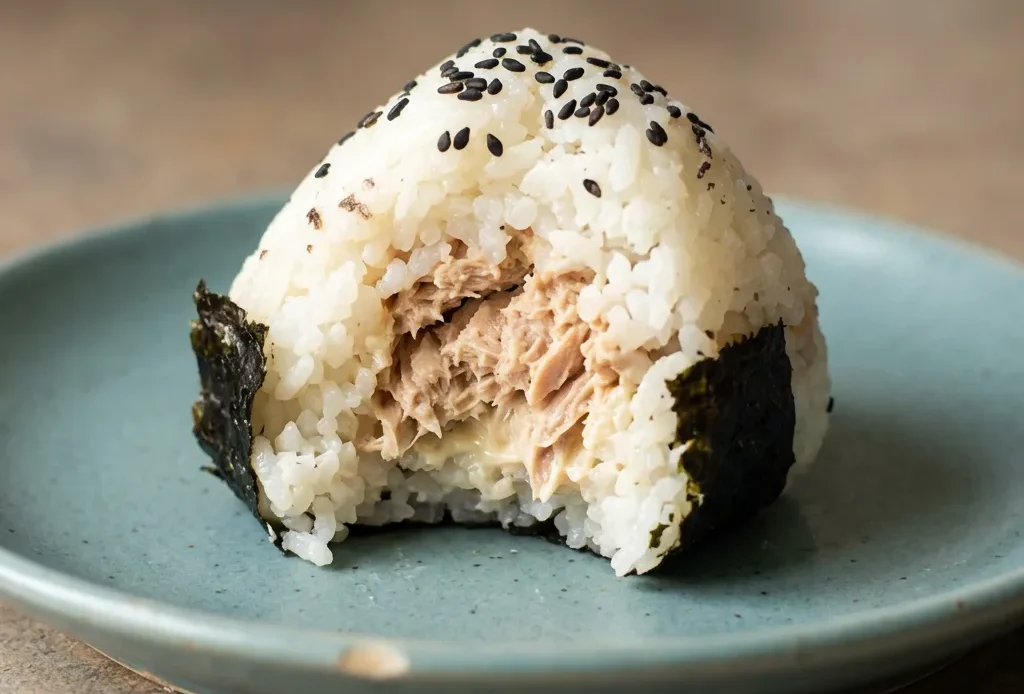
The first time you press hot rice into a triangle, you feel why this works: the starch bonds, the grains cling, and suddenly you have a handheld pocket of savory filling. Onigiri are the original portable comfort food, pantry staples like canned tuna and mayo get tucked into seasoned rice, wrapped in nori, and eaten with your hands.
The trick is the rice itself: short grain, hot, salted lightly so it holds together without glue. This easy Japanese tuna onigiri turns a few ingredients into something you can pack for lunch, picnic, or a snack that actually stays intact. The filling stays centered, the nori stays crisp, and it takes minutes to shape once you know how the rice should feel.
Use hot rice for onigiri that hold together
Hot rice is the glue that keeps your onigiri from falling apart. When rice is freshly cooked, the surface starch turns sticky, binding each grain to the next.
Cold rice loses that tackiness, so the triangle crumbles the moment you pick it up. That’s why the recipe tells you to heat leftover rice first. If you skip that step, you’ll end up with a loose pile of grains, not a compact shape you can wrap nori around.
The heat also softens the rice, making it pliable enough to press into a firm triangle without cracking. As you shape, your hands will feel the rice binding together; that’s the starch doing its job. Serve these right away, and the nori stays crisp against the warm, cohesive rice.
An easy Japanese breakfast staple like this relies on that initial heat for structure.
Drain tuna well so the rice stays firm
Soggy rice ruins onigiri. Canned tuna holds a surprising amount of liquid, especially water-packed varieties. If you skip draining, that moisture seeps into the rice and turns the inside into a wet mess that won’t hold its shape.
Pressing the tuna with a fork in a fine sieve forces out every drop. Even oil-packed tuna, which the recipe recommends for richer flavor, needs this treatment. The oil contributes flavor, but too much liquid still makes the rice sticky and loose.
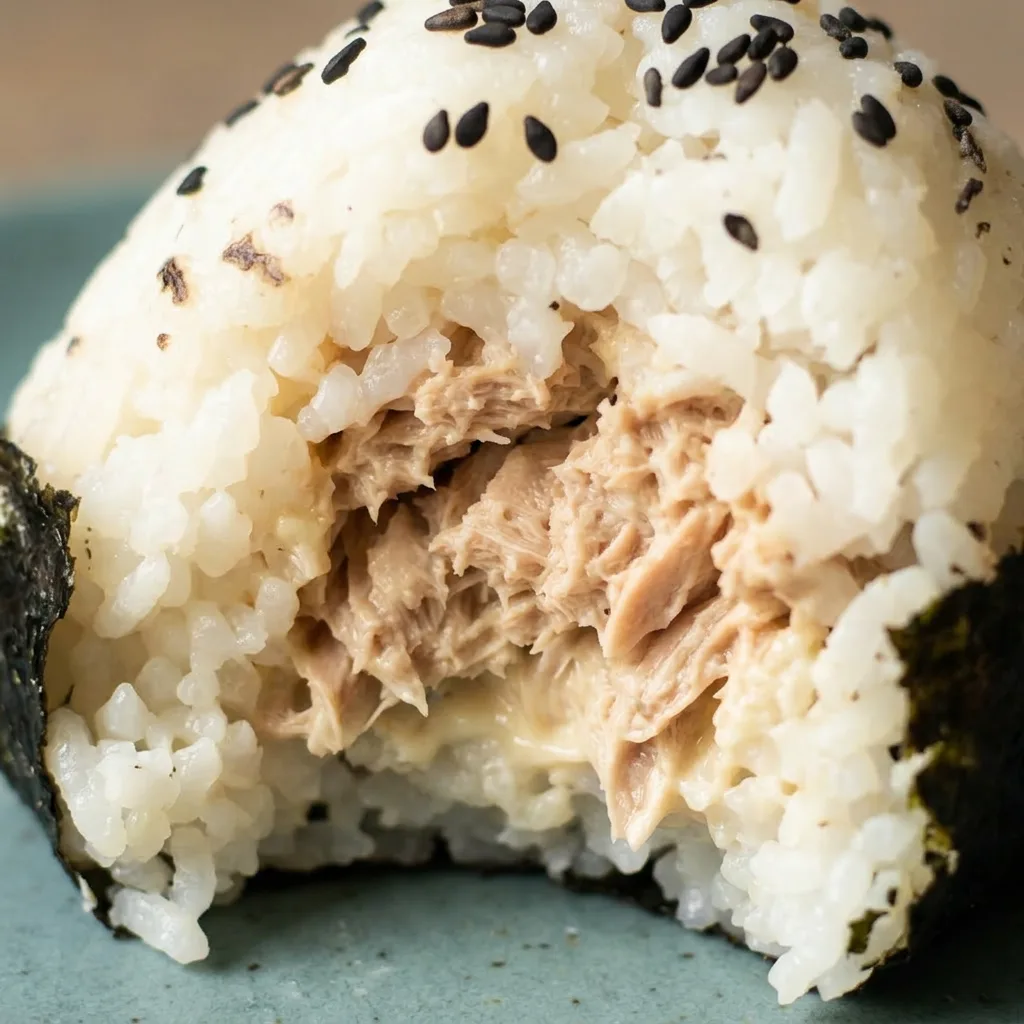
Once drained, the tuna-mayo mix stays thick and spreadable, not runny. As you fill the rice patty, the filling stays put instead of bleeding into the grains.
That’s how you get a clean bite with a distinct tuna center, not a uniformly damp rice ball.
Why Japanese mayonnaise makes the filling taste right
Japanese mayonnaise is tangier and creamier than standard mayo, giving the tuna filling a characteristic sharpness that cuts through the rich fish. The extra egg yolks in it create a smoother emulsion, so when you stir it into drained tuna, the result is a cohesive, almost spreadable paste, not a curdled-looking mix.
That creaminess coats each flake of tuna, making every bite taste evenly seasoned. The recipe notes it as recommended for good reason: regular mayo will work in a pinch, but the result will be blander and less silky.
You can taste the difference immediately. That tangy, lightly sweet note is what defines an authentic onigiri filling. It’s a small switch that changes the whole flavor profile.
Stick with the Japanese version if you want the classic experience.
Prep: 15 min · Total: 15 min · Servings: 4 · Calories: 210 kcal
Grab the right tuna and mayo for a cohesive filling
Short grain rice: Short grain is key; its high starch content makes the rice sticky enough to hold a tight triangle.
Canned tuna: Oil packed is richer; either way, drain it thoroughly in a sieve so the filling stays thick.
Japanese mayo: It’s tangier and creamier than regular; that sharpness defines the authentic tuna onigiri flavor.
Nori: Use 2 full sheets for more seaweed taste, or halve one sheet for a subtler wrap.
Shape each onigiri with wet hands for a clean, tight triangle
Season the hot rice
Fold salt into the hot rice with a rice paddle. You’ll feel the grains clump slightly as the starch activates. If the rice seems dry, it’s not hot enough; reheat until steaming.
Drain and mix the tuna
Press the tuna in a fine sieve until no liquid drips out. Stir in mayo until every flake is coated.
The mixture should be thick and hold together, not wet or runny. If it slides off the spoon, drain more.
Prepare the nori
Cut nori into halves or strips as you prefer. For more seaweed flavor, use 2 full sheets; for a subtler wrap, halve one sheet. Set aside.
Form the rice base
Wet your hands, then scoop 1/2 cup of rice. Shape it into a ball, then flatten to a 1/2-inch patty. The rice should feel sticky but not mushy; if it sticks too much, wet your hands again.
Fill and seal
Make a dent in the patty, add 2 tbsp of filling, then fold the rice over. Press firmly into a ball, pushing the filling toward the center. The rice should encase the filling completely with no cracks.
Shape into a triangle
Cup the ball and press into a triangle, rewetting hands as needed. The edges should be sharp, not rounded. If the rice splits, you pressed too hard; ease up and reshape gently.
Wrap with nori
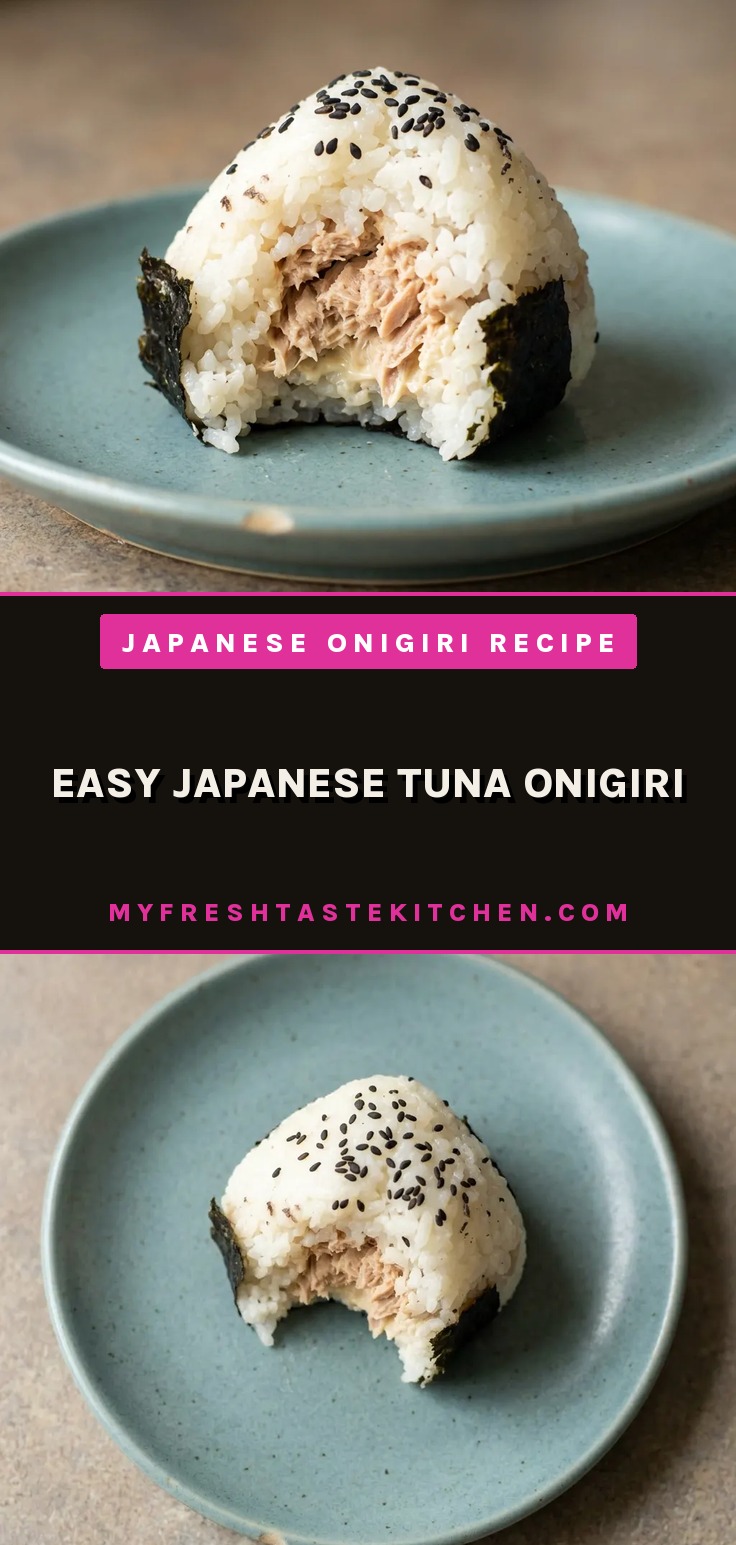
Place a nori piece at the base of the triangle and fold up the sides. The nori should stick to the warm rice. Sprinkle sesame seeds on top if using.
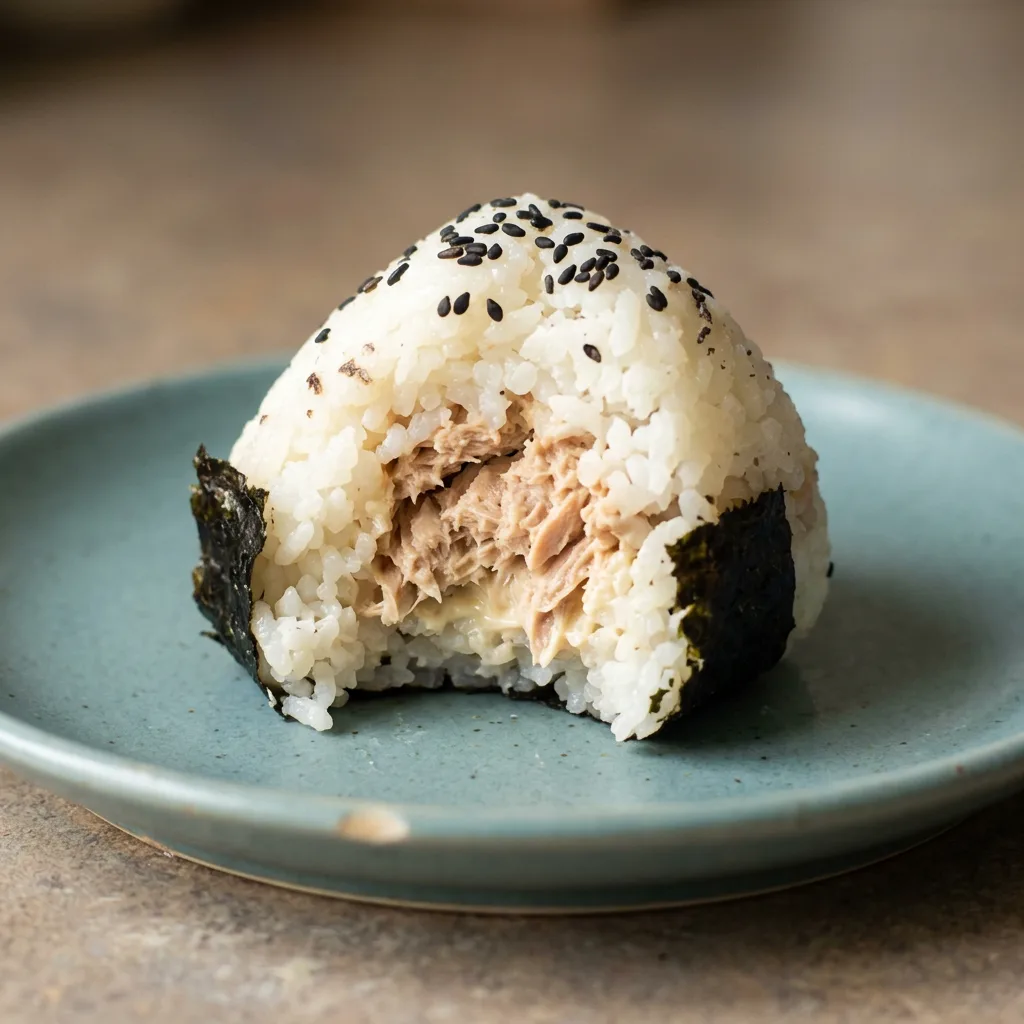
Easy Japanese Tuna Onigiri
Ingredients
Method
Season Rice:
Place hot cooked short-grain rice in a large bowl and mix in salt with a rice paddle. Cover and keep aside. (If using cold leftover rice, cover and heat in microwave for 2-3 minutes before seasoning.)Prepare Tuna Mayo:
Open the tuna can and drain the contents in a fine sieve, pressing with a fork to extract as much liquid as possible. Put the drained tuna into a small bowl and stir in Japanese mayo until evenly coated. Set aside.Cut Nori Sheets:
Adjust nori sheets to taste: for more seaweed, use 2 sheets and cut each into two halves for 4 pieces; for less, use 1/2 sheet and cut into 4 equal strips. Set aside.Form Rice Patty:
Have a bowl of water ready. Wet your hands, then take 1/2 cup (100 g) cooked rice and form it into a round ball. Flatten to a 1/2-inch thick patty and create an indentation in the center. Add 2 tbsp (30 ml) of the tuna-mayo mixture into the dent. (Using an onigiri mold or plastic wrap can help avoid stickiness.)Shape Onigiri:
Fold the rice over the filling, pushing the filling toward the center as you fold. Press firmly into a ball, then flatten to 1.5-inch thick and shape into a triangle, rewetting hands as necessary.Wrap and Serve:
Place a nori sheet starting from the base of the triangle and wrap around the sides. Repeat to form 4 onigiri. Sprinkle each with sesame seeds. Serve immediately.
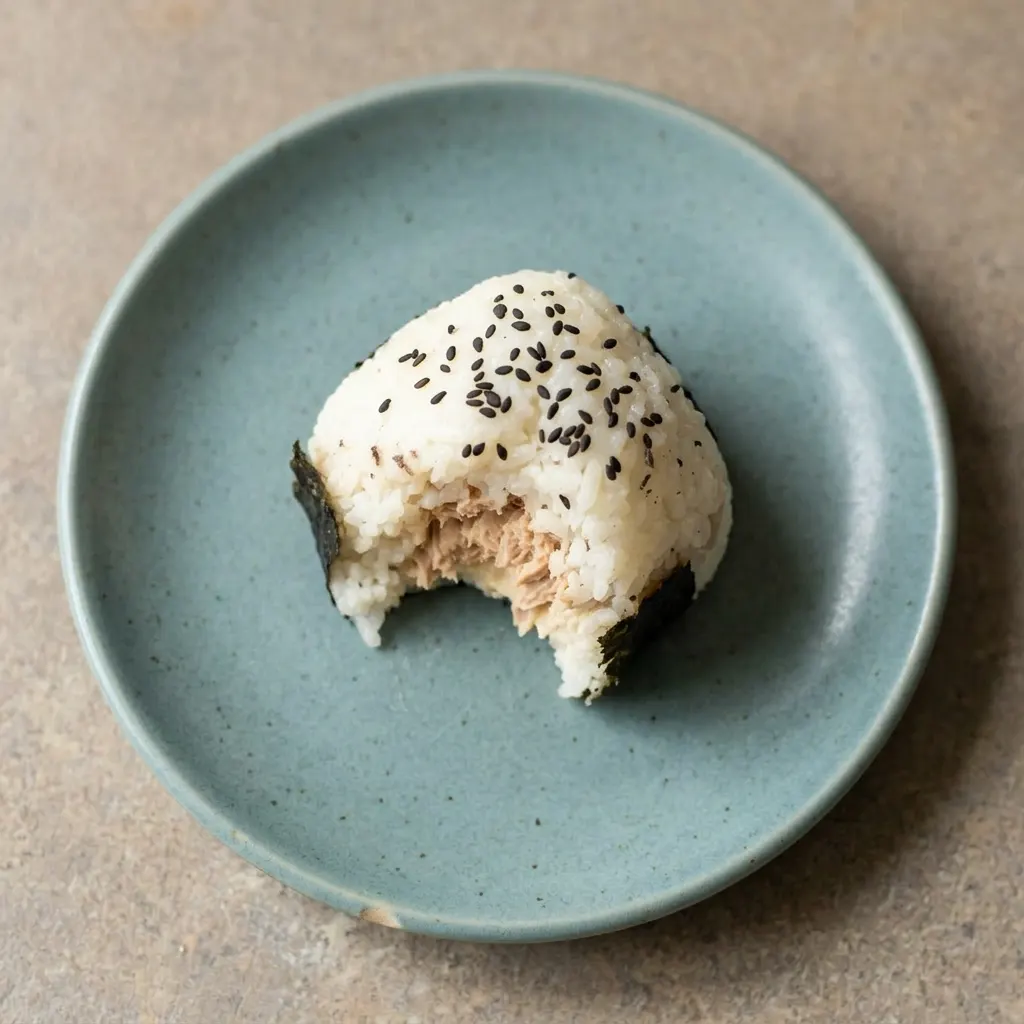
Swap tuna and mayo, but keep the rice short and hot
Canned tuna: Shredded cooked chicken or crumbled firm tofu. Chicken gives a milder, meatier filling; tofu turns it vegetarian.
Both need the same thorough draining and mayo binding to stay cohesive. The texture shifts: chicken is stringier, tofu is softer.
If using tofu, press it first to remove excess water, then crumble finely. The filling will be less rich but still savory.
Japanese mayonnaise: Plain Greek yogurt or vegan mayo. Greek yogurt adds tang but less creaminess; the filling turns thinner and sharper.
Vegan mayo mimics the oiliness but lacks the egg-yolk richness. Start with the same amount the recipe uses, then adjust to taste: yogurt may need a pinch of sugar to balance acidity.
The filling won’t be as silky, but it will still bind the tuna.
Short grain rice: Do not swap. Long grain or jasmine rice lacks the sticky starch that holds the triangle together. The onigiri will crumble.
No other rice gives the same cohesive result. Stick with short grain.
Nori: Leave out for gluten-free (check label) or use toasted sesame seeds on the outside. Most nori is gluten-free, but some brands add wheat starch. If omitting, the onigiri is still fine, just without the crisp seaweed wrap.
Rolling the outside in sesame seeds adds crunch and flavor instead.
How to store onigiri and keep the rice moist
Onigiri are best eaten within 4 hours of shaping. The warm rice keeps the nori crisp and the grains tender.
After that, the nori softens and the rice starts to dry out. For leftovers, wrap each onigiri individually in plastic wrap to trap moisture.
Store in an airtight container at room temperature for up to 4 hours, or refrigerate for up to 1 day. The fridge stiffens the rice grains; to restore some softness, microwave a wrapped onigiri for 20 to 30 seconds, then let it rest 1 minute before unwrapping. Do not freeze assembled onigiri: the rice turns crumbly and the nori becomes irreversibly tough.
You can freeze the tuna-mayo filling alone for up to 1 month, but shape fresh rice when ready to serve. If making ahead, prepare the filling and cook the rice, then shape just before serving.
The finishing touches of nori wrap and sesame seeds go on at serving time, not before, so they stay crisp and aromatic.
Tips
- Wet your hands with salted water (not plain water) to season the rice lightly while shaping. The salt helps tighten the starch bond and adds a subtle flavor boost that plain water misses.
Frequently Asked Questions
Can I make onigiri ahead of time and eat them later?
Best within 4 hours of shaping. Beyond that, wrap individually in plastic and refrigerate up to 1 day; microwave wrapped 20 to 30 seconds to soften the rice. Don’t freeze assembled onigiri, rice turns crumbly.
Prep the filling and cook rice ahead, then shape fresh for crisp nori.
Why do my onigiri fall apart when I shape them?
Most likely the rice isn’t hot enough. Hot rice makes the surface starch sticky, binding grains together.
If your rice is cold or lukewarm, reheat until steaming before seasoning, you’ll feel the rice clump as you mix. Also check your rice type: short grain is essential for that tackiness.
Is this the same as the onigiri you get at Japanese convenience stores?
Close, but homemade uses hot rice for a softer, more cohesive texture. Convenience store onigiri are often machine-pressed and cooled quickly, so the rice is firmer and the nori stays separate from the rice. Your version will have a warmer, more tender bite with the nori clinging directly to the rice.
