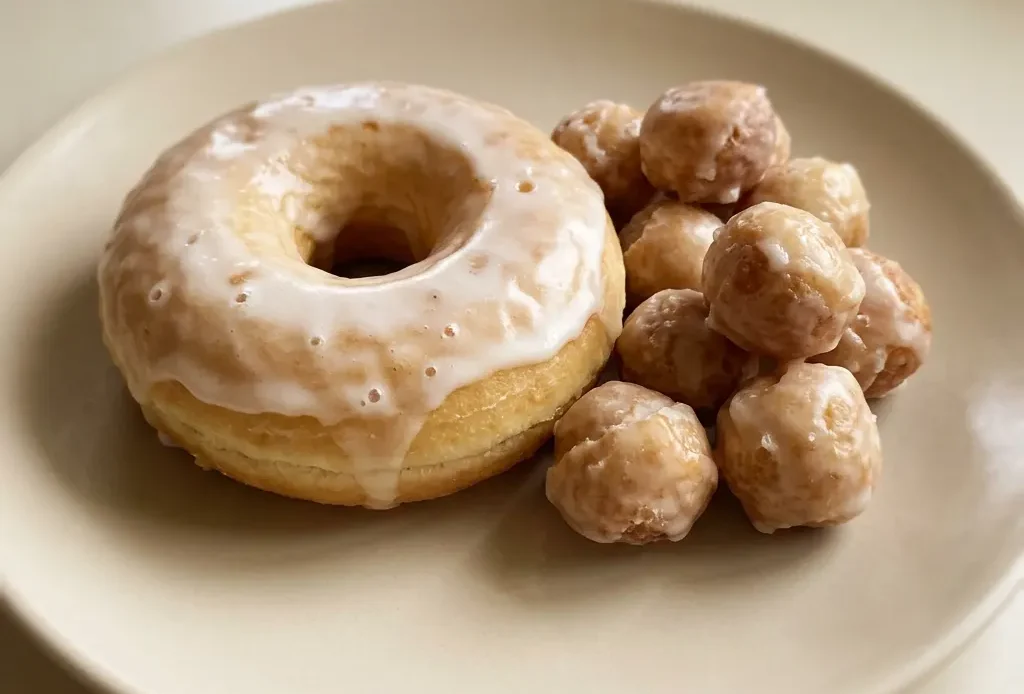
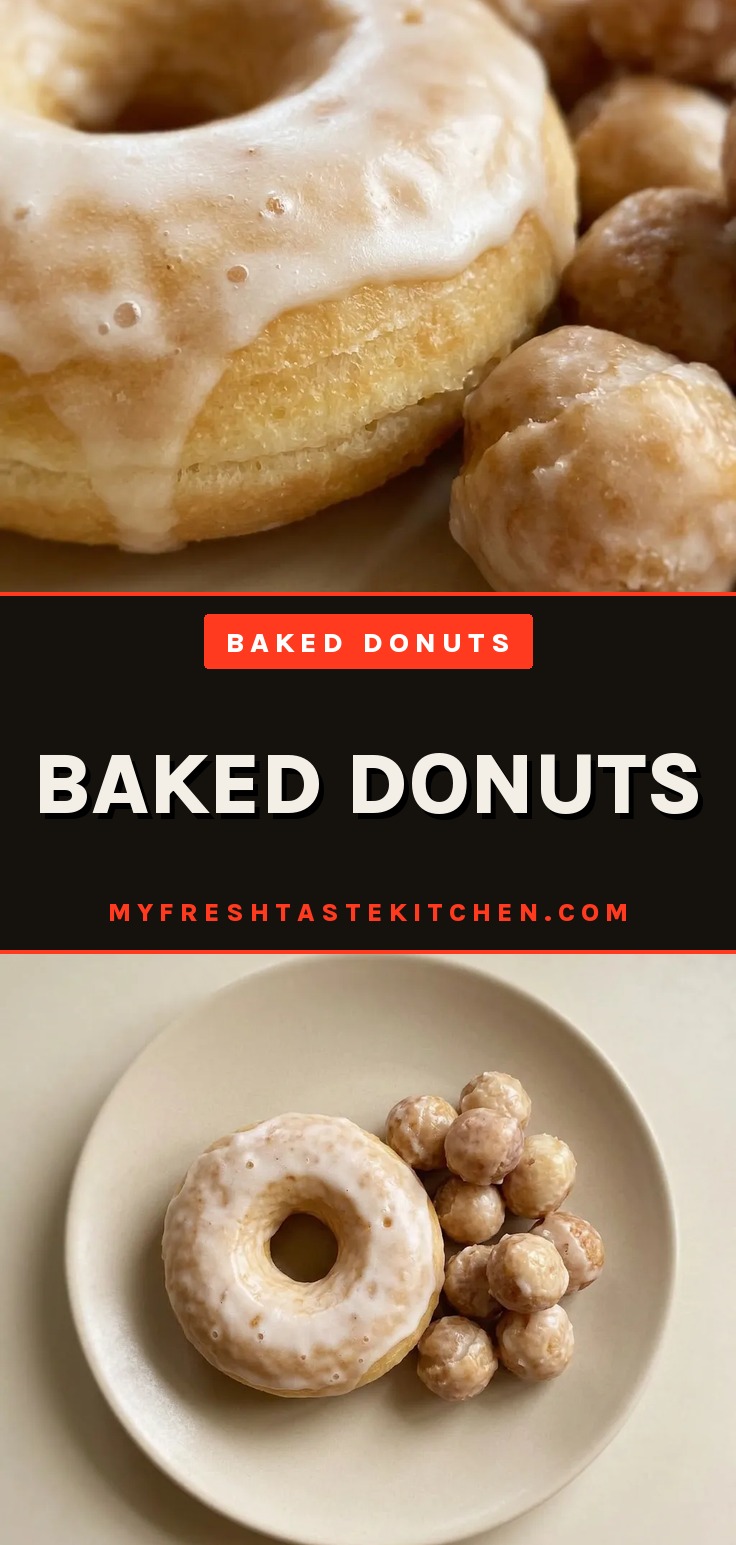
A ring that bounces back when you press it, a crumb that tears into a soft, airy web, that’s what a properly proofed yeast donut gives you. The baked version trades the heavy, greasy crust of fried for a tender edge that browns just at the rim, leaving the center pale and soft.
It’s not a shortcut; it’s a different texture, lighter on the tongue and cleaner on your hands. Getting that open crumb without a deep fryer means paying attention to the dough’s feel and trusting the visual cues, not the clock.
Bake instead of fry for a lighter donut
Baking avoids the oil bath that frying demands, so your donut comes out less greasy. The crumb stays airy, more like a tender cake than a dense fried ring. Yeast does the lifting here, no baking powder or soda, which gives a softer, more open structure.
Oven heat works gently from all sides, setting the shape without forming that thick, crunchy crust you’d get from hot oil. The result is a donut that feels light on the tongue, not weighed down by absorbed fat. Cleanup is simpler too: no spatters, no deep fryer to deal with.
Let the dough rise twice for a fluffy crumb
This dough starts sticky from all the milk, butter, and egg, that high hydration is what makes the final crumb soft, not dry. The first rise, until doubled, builds both gluten strength and fermented flavor. After shaping, a second proof lets the rings puff up again; that’s what gives them that airy, cloud-like interior.
If you rush the proof, the donuts stay dense and bready. Let them go too long and they might collapse or flatten out in the oven.
You want them just risen and springy to the touch before they bake.
Glaze while they’re warm for a thin, set finish
A warm donut helps the glaze flow evenly over the top and then harden into a thin shell as it cools. If the donuts were cold, the glaze would sit thick and might slide off.
The mix of two cups confectioners’ sugar to just three or four tablespoons of liquid makes a glaze that’s thick enough to cling but still pourable. Use milk for a creamy white finish, or lemon juice for a tangy version that cuts the sweetness.
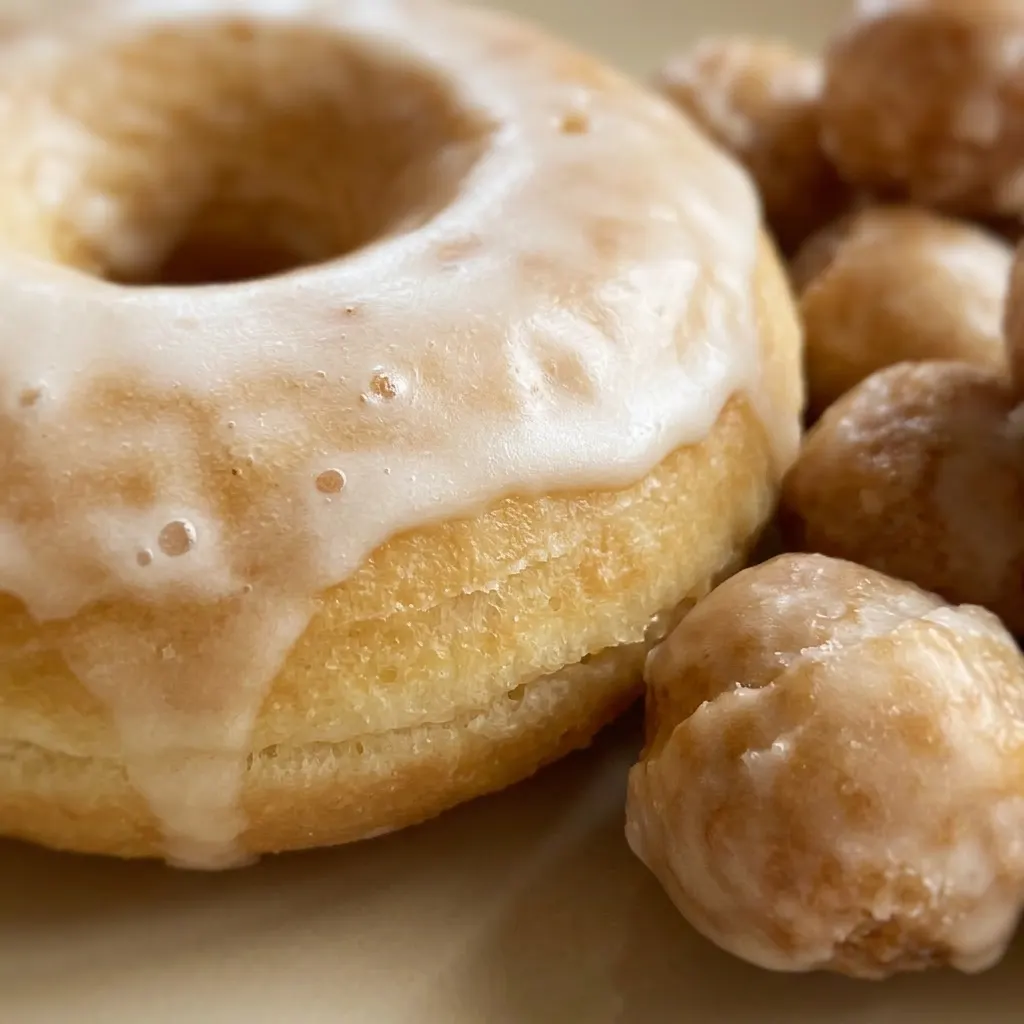
The glaze sets within minutes, leaving a clean, crackly layer that contrasts with the soft donut underneath.
Prep: 25 min · Cook: 12 min · Total: 2 hr 30 min · Servings: 10 · Calories: 880 kcal
What to look for in each ingredient
Active dry yeast: Check the date on the packet. If it doesn’t foam within 10 minutes, it’s dead.
Whole milk: Warm it to about 110°F so the yeast activates but isn’t killed by heat.
All-purpose flour: Sift it before measuring to lighten the dough and avoid lumps in the crumb.
Unsalted butter: Melt it first, then let it cool slightly so it doesn’t cook the egg when combined.
Large egg: Let it come to room temperature so it blends smoothly into the dough.
Confectioners’ sugar: Sift it to prevent lumps in the glaze; no one wants a gritty finish.
Work the dough until it feels right, not just by time
Proof the yeast
Stir yeast into warm milk with a pinch of sugar. Wait 5 to 10 minutes. You’re looking for a foamy cap on top.
If nothing happens, your yeast is dead, start over with fresh yeast or warmer milk.
Mix and knead
Combine wet and dry until a shaggy mass forms. Turn it out and knead 5 to 8 minutes.
The dough starts sticky but should smooth out and feel elastic, not tacky. If it still sticks to the counter, dust with flour a little at a time.
First rise
Set the dough in a greased bowl, cover, and let sit in a warm place. It should double in size, about 1 to 1½ hours.
Press two fingers into the dough; if the indent stays, it’s ready. Underproofed dough springs back fast.
Shape and second proof
Punch down gently, roll to ½ inch thick, and cut out rings. Place on parchment, cover loosely, and let proof 30 to 40 minutes. The rings should look puffy and feel springy when you lightly tap them.
If they feel dense, give them more time.
Bake to golden edges
Bake at 350°F for 10 to 12 minutes. Check when the edges turn light gold and the tops look set. The bottoms will be slightly darker.
Don’t overbake or they dry out, pull them as soon as the edges color.
Glaze while warm
Whisk confectioners’ sugar with 3, 4 tablespoons milk or lemon juice until smooth. Dip the top of each warm donut.
The glaze should flow over evenly and then set into a thin, crackly shell within minutes. Too thick? Add more liquid drop by drop.
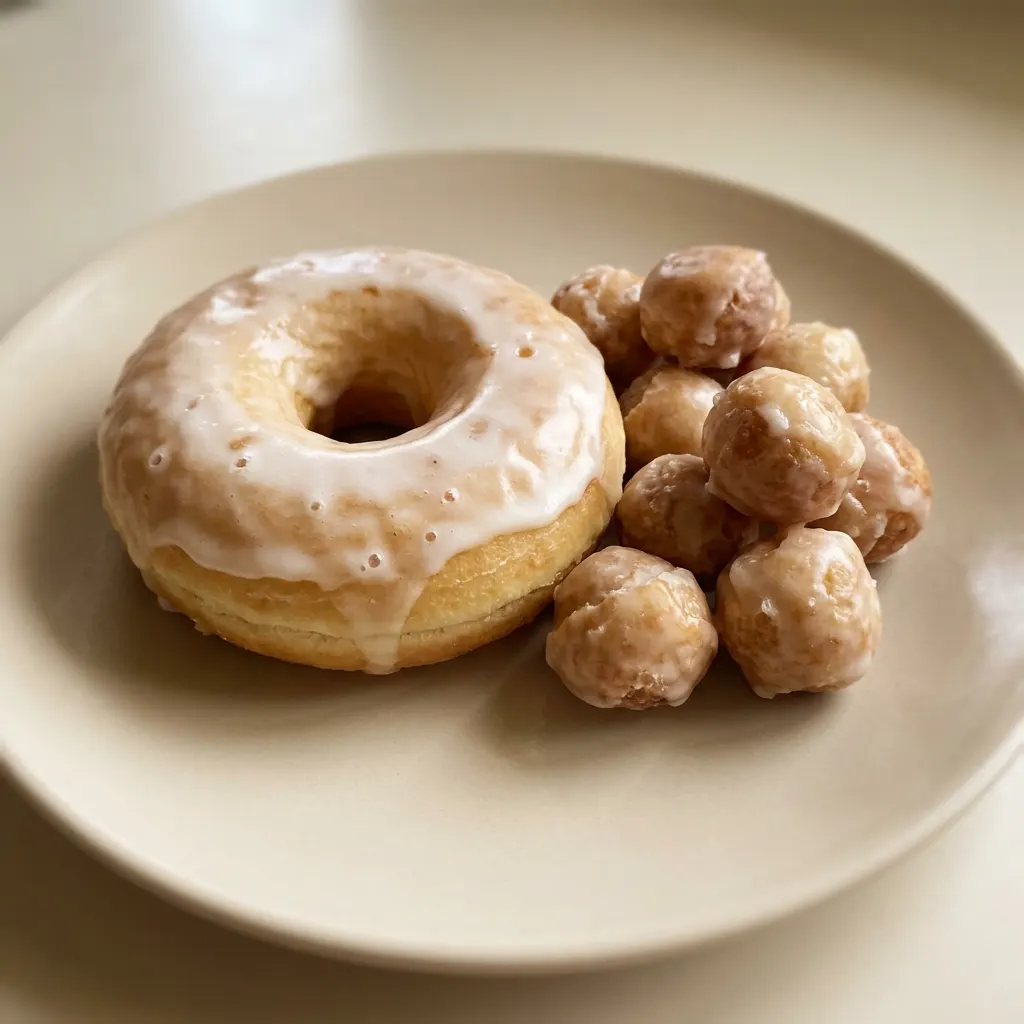
Baked Donuts (Donuts al Horno)
Ingredients
Method
Activate yeast mixture:
Combine yeast with a small amount of sugar in warm milk; let sit 5-10 minutes until frothy.Make dough:
In a bowl, whisk flour and salt. Pour in yeast mixture, egg, remaining sugar, melted butter, and vanilla. Stir until a sticky dough forms. Turn onto a floured surface and knead 5-8 minutes until smooth and elastic.First rise:
Set dough in a greased bowl, cover, and let rise in a warm spot until doubled, roughly 1 to 1 1/2 hours.Cut doughnuts:
Press down dough gently and roll to 1/2 inch (1.5 cm) thickness. Stamp out rounds using a doughnut cutter.Proof doughnuts:
Arrange doughnuts on parchment-lined sheets, loosely cover, and let proof 30-40 minutes until airy.Bake doughnuts:
Heat oven to 350°F (175°C). Bake 10-12 minutes until the edges turn light gold.Make glaze:
Move doughnuts to a cooling rack. While they cool, whisk confectioners’ sugar with your chosen liquid to a smooth glaze.
Glaze doughnuts:
Submerge the top of each warm doughnut in the glaze. Allow to fully set before serving.
Storage and Serving
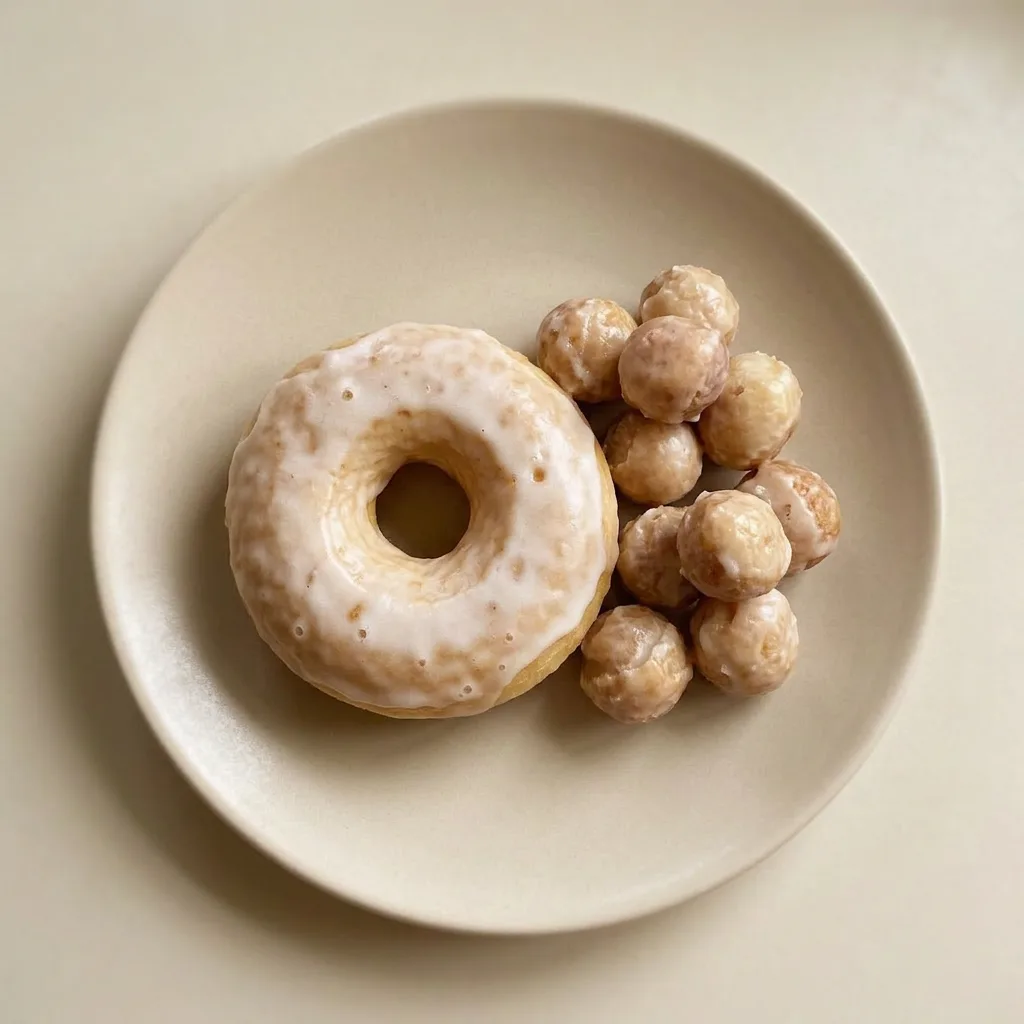
Glazed donuts are best eaten within a few hours of glazing, while the coating is crisp and the crumb is soft. After 24 hours, the glaze softens into the dough and the texture turns more cake-like.
Store in a single layer at room temperature in an airtight container for up to 2 days; stacking will stick and smear the glaze. Do not refrigerate, as cold accelerates staling. To freeze, skip the glaze: freeze unglazed baked donuts in a single layer on a sheet, then transfer to a freezer bag for up to 1 month.
Thaw at room temperature, then reheat in a 300°F oven for 3 to 4 minutes and glaze while warm. Glazed donuts do not freeze well; the glaze becomes tacky and the texture suffers.
Subbing the milk or fat changes the crumb, here’s how
Whole milk: Buttermilk. Swap whole milk measure for measure with buttermilk.
The acid in buttermilk tenderizes the gluten, giving a slightly tangier, more cake-like crumb. The dough may feel a bit softer; knead just until smooth.
Unsalted butter: Coconut oil (melted) or neutral oil (like canola). Replace melted butter with an equal amount (1/4 cup) of melted coconut oil or a neutral oil. The crumb turns a touch denser and less rich.
Coconut oil adds a faint coconut flavor; oil makes the dough slightly greasier to handle. Not recommended if you want the buttery aroma.
All-purpose flour: Gluten-free 1-to-1 flour blend (with xanthan gum). Swap by weight (300 g) or volume (1 1/4 cups) using a blend that includes xanthan gum. The dough will be stickier and less elastic; knead 1 to 2 minutes less to avoid toughness.
The baked donuts will be more tender and a bit more fragile, handle gently after baking. Rise times may be slightly longer; look for the same visual cues.
Tips
- To test yeast freshness without a thermometer, warm milk until it feels like warm bathwater (about 100 to 110°F). If the mixture doesn’t foam after 10 minutes, your yeast is dead; replace it.
Frequently Asked Questions
Can I make the dough ahead and bake later?
Yes, you can refrigerate the dough after the first rise. Punch it down, wrap tightly, and keep it in the fridge for up to 24 hours.
When ready, shape and let the second proof take a bit longer, maybe 45 to 50 minutes, until the rings feel puffy and springy. The cold slows the yeast, but the visual cues stay the same.
For longer storage, freeze unglazed baked donuts per the storage notes.
Why did my donuts turn out dense and not fluffy?
Most likely they were under-proofed during the second rise. After shaping, the rings need to puff until airy and springy to the touch, if they still feel dense, give them more time. Another possibility: the yeast didn’t foam in the milk, meaning it was dead, so the dough never got the lift it needed.
Check that your milk was around 110°F and the yeast was fresh before you mixed.
How do I know when the donuts are fully baked?
Look for the edges turning light gold, that’s your cue to pull them, usually around 10 to 12 minutes. The tops should look set, not wet, and the bottoms will be slightly darker. Don’t wait for the whole donut to brown; overbaking dries out the crumb.
What’s the difference between baked and fried donuts in taste and texture?
Baked donuts are lighter and less greasy, with a tender, cake-like crumb from the yeast lift. Fried donuts have a thicker, crunchy crust and a richer mouthfeel from the absorbed oil.
The baked version feels airier on the tongue, while fried gives that classic doughnut-shop chew. Cleanup is simpler with baking too.