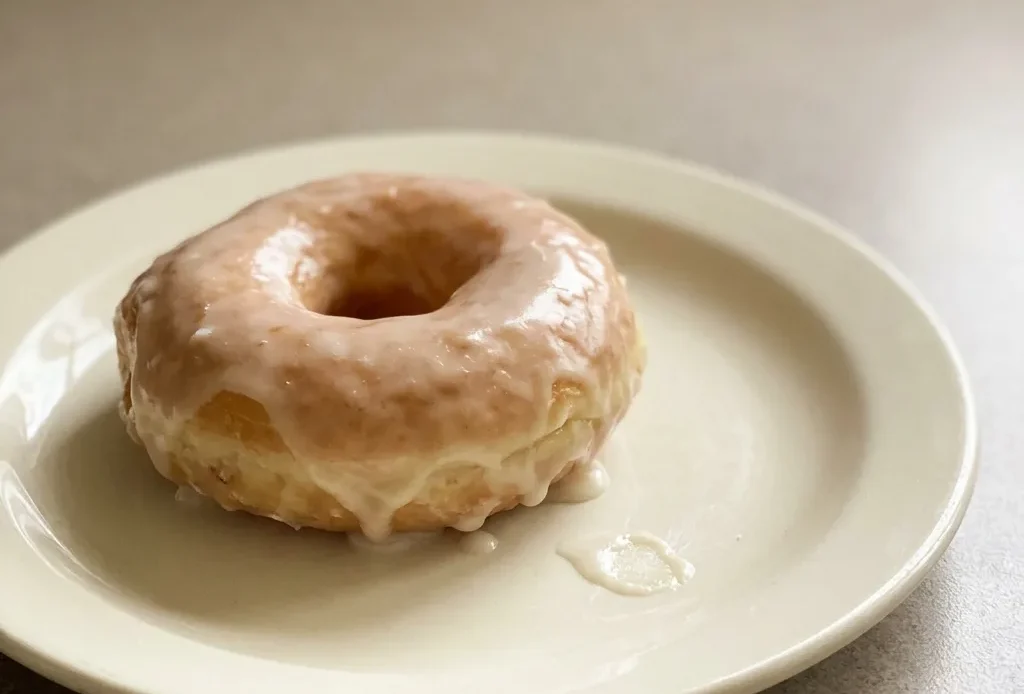
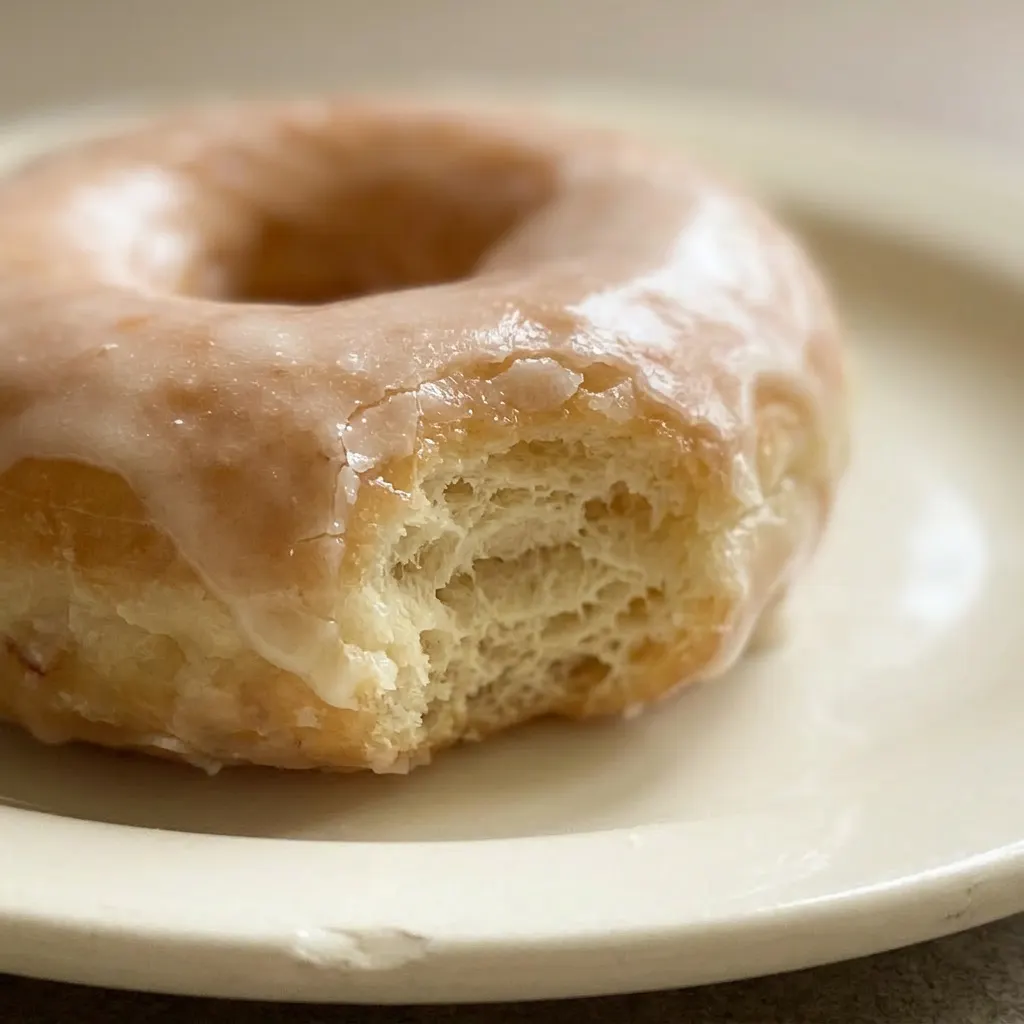
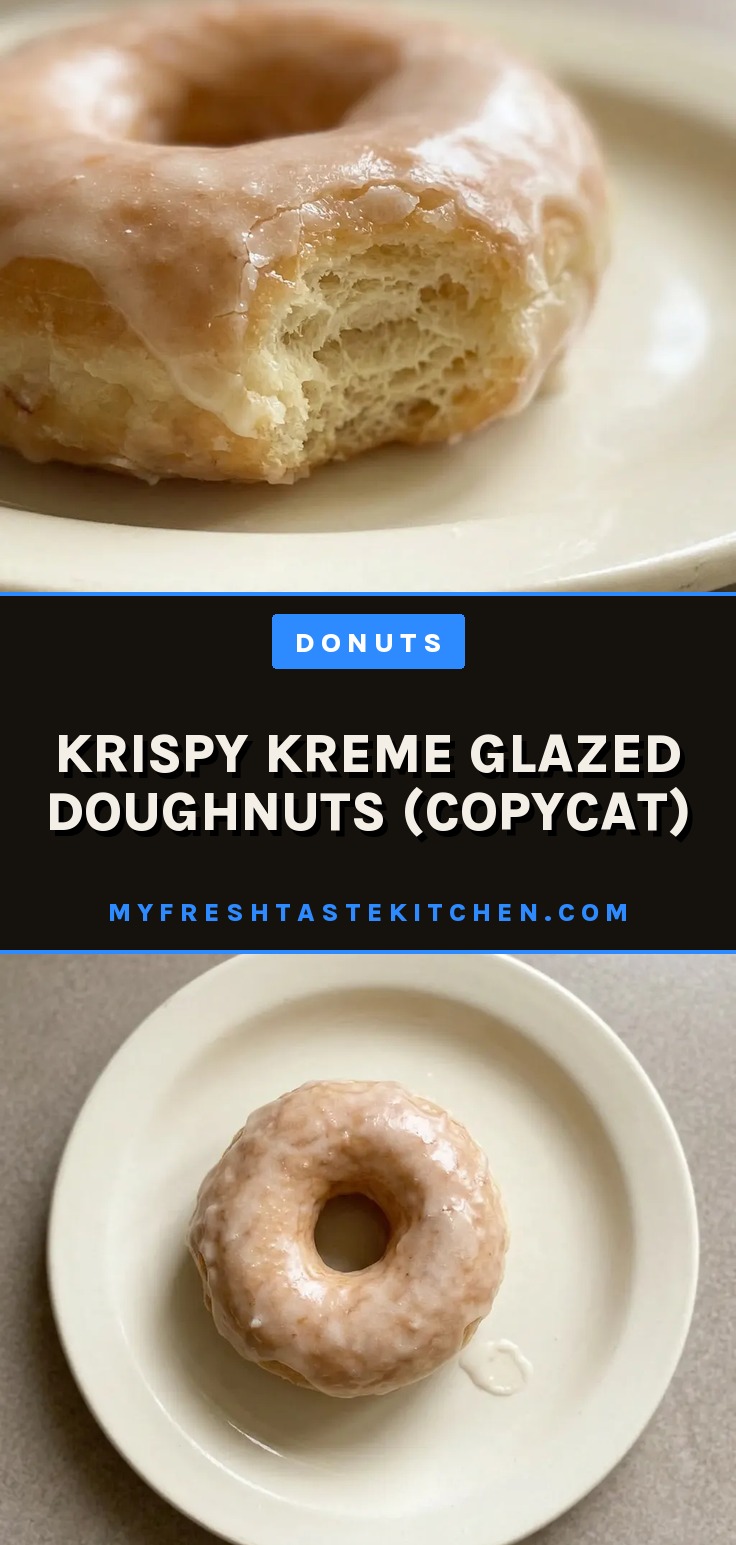
This is not a recipe for airy, mass-produced doughnuts. It’s a method for recreating the exact texture, a tender, moist crumb that tears rather than crumbles, wrapped in a brittle glaze that shatters when you bite. The margin for error is narrower than you’d expect: the dough’s high hydration feels sticky and slack, but that’s what traps the air pockets that make these krispy kreme glazed doughnuts copycat light.
Double proofing builds structure without making it chewy, and the oil temperature decides whether they’re greasy or clean. This is the version for someone who’s fried dough before and wants to nail the details.
Get the dough’s hydration and fat right
The dough’s soft, pliable texture comes from a high liquid-to-flour ratio. Milk, water, and eggs add up to nearly 1¼ cups liquid per 5 cups flour, which feels sticky but is exactly what traps air during proofing.
Shortening does double work: it coats gluten strands, limiting their development so the crumb stays tender, not chewy. You’ll feel the dough is smooth but slack, that’s the sign. A dough that’s stiff from too little liquid or too much flour will yield dense doughnuts.
The shortening also keeps the interior moist after frying, so the first bite gives that slight give before it tears.
Double proofing builds structure and flavor
The first proof, an hour, does the heavy lifting. Yeast ferments, producing carbon dioxide that stretches the gluten network into a resilient web.
You’ll see the dough double and smell a faint yeasty tang, that’s flavor developing. After shaping, the second proof is shorter but just as important. It lets the doughnuts puff up again, creating air pockets that will expand in the hot oil.
If you skip or rush this rise, the doughnuts fry up dense and tough. Press one gently before frying: it should feel soft and hold a slight impression.
Warm the glaze for that thin, crackly shell
What makes a Krispy Kreme glaze distinct is how it sets into a thin, glossy shell that cracks when you bite. The key is the corn syrup, it adds stability without making the sugar crystallize into a brittle, sandy coating.
Microwaving the glaze briefly thins it so it flows evenly over the doughnut’s surface. Dip the doughnuts while they’re still warm from frying; the residual heat helps the glaze adhere and set quickly. You’ll see it turn from liquid to a smooth, slightly matte finish in seconds.
That’s how you get the signature layer that shatters, not peels.
Keep oil at 375°F for a clean fry
Oil temperature is the single factor that decides whether the doughnuts are greasy or light. At 375°F, the crust sets instantly, sealing the interior from soaking up oil.
If the oil drops below 350°F, the dough absorbs fat like a sponge, leaving a heavy, oily crumb. Above 400°F and the exterior burns before the center cooks through, you’ll get a dark shell and raw dough inside. Use a thermometer and fry in small batches; adding too many doughnuts at once crashes the temperature.
Watch the oil recover between batches, when you drop the next one, it should sizzle immediately.
Prep: 20 min · Cook: 20 min · Total: 2 hr 25 min · Servings: 24 · Calories: 530 kcal
Get the right yeast and shortening for the texture
Active dry yeast: Use fresh packets; if your water mixture doesn’t foam after 10 minutes, the yeast is dead.
Shortening: Stick with hydrogenated shortening for the soft, moist crumb; butter or oil change the texture.
All-purpose flour: Bleached all-purpose gives a lighter, more tender doughnut than unbleached or bread flour.
Vegetable shortening for frying: Refined shortening with a high smoke point; don’t use butter or margarine here.
Light corn syrup: It prevents the sugar from crystallizing, so the glaze stays smooth and crackly, not gritty.
Watch the dough, not the clock
Proof the yeast
Stir yeast into warm water and wait 10 minutes. You’ll see bubbles and foam, if the surface stays flat, the yeast is dead and your doughnuts won’t rise.
Mix the dough
Beat the wet ingredients with 2 cups flour for 2 minutes until smooth. Then add the rest and mix just until it comes together. Overmixing makes the dough tough; stop when no dry flour remains.
First proof
Cover the dough and let it sit in a warm spot for 1 hour. It should double in size.
Press a finger into it, if the indentation stays, it’s ready. If it springs back, give it more time.
Shape the doughnuts
Roll half the dough to 1/2-inch thick. Flour the cutter well or the dough sticks.
Stamp out shapes and place on wax paper. Reroll scraps for more, but avoid overworking, they’ll be tough.
Second proof
Cover the shaped doughnuts and let them rise for 30 to 45 minutes (I used 45). They should look puffy and feel soft when you press gently. If they feel dense, they need more time.
Heat the oil
Warm shortening to 375°F, use a thermometer. If the oil smokes, it’s too hot.
If a test scrap of dough sits on the bottom without sizzling, it’s too cool. Adjust heat between batches.
Fry the doughnuts
Drop doughnuts in a single layer, not crowded. Fry 90 seconds per side.
They should turn golden brown and puff up. If they brown too fast, lower the heat; if pale, raise it.
Glaze while warm
Whisk glaze ingredients, then microwave 30 seconds until thin. Dip each slightly cooled doughnut fully. The glaze should coat evenly and set into a shiny shell within seconds.
If it’s too thick, microwave again briefly.
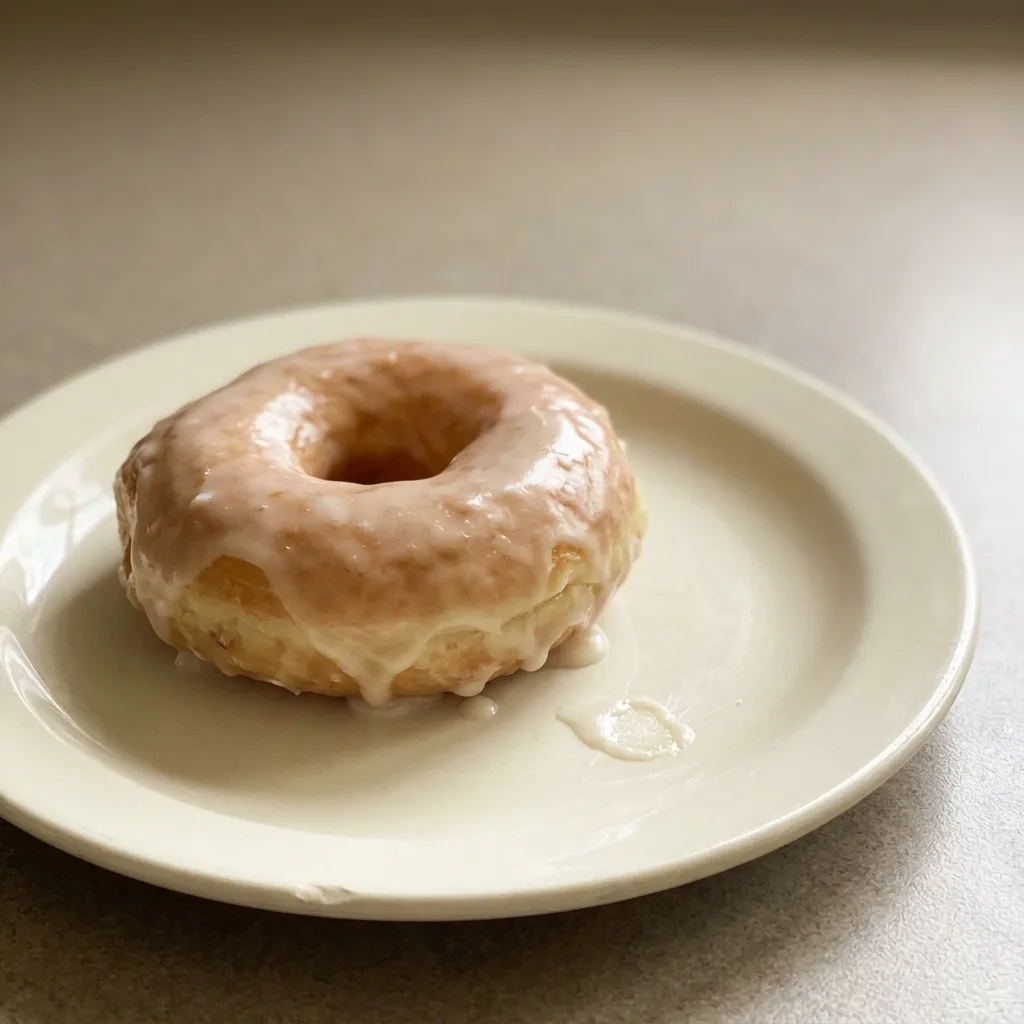
Krispy Kreme Glazed Doughnuts Copycat
Ingredients
Method
Activate yeast mixture:
In the bowl of a stand mixer, stir together the yeast and warm water; allow to sit for 10 minutes until it becomes frothy.Mix dough ingredients:
Pour in the milk, sugar, salt, eggs, shortening, and 2 cups (250 g) of flour. Beat on medium speed for 2 minutes. Incorporate the remaining 3 cups (375 g) of flour and mix only until unified.Proof the dough:
Take the bowl off the mixer, cover with a clean kitchen towel, and let it proof in a warm area for 1 hour, until pressing a finger into the dough leaves an indentation.Cut out doughnuts:
On a lightly floured surface, roll out half the dough to a thickness of 1/2 inch (1.3 cm). Dust a doughnut cutter with flour and stamp out doughnuts. Arrange them on wax paper. Repeat with the other half to produce 24 doughnuts total.Second rise:
Cover the doughnuts and let them rise in a warm spot for 30–45 minutes (I used 45).Heat frying oil:
In a cast-iron skillet or deep saucepan, warm the vegetable shortening to 375°F (190°C). Rely on a thermometer to confirm the temperature.Fry doughnuts:
Fry each doughnut for 90 seconds per side. Transfer to a cooling rack to drain.
Make glaze and dip:
To prepare the glaze, whisk together confectioners’ sugar, milk, and corn syrup in a bowl. Microwave the mixture for 30 seconds. Immerse the cooled doughnuts in the glaze.Serve immediately:
Serve right away, indulging without restraint.
Storage and Serving
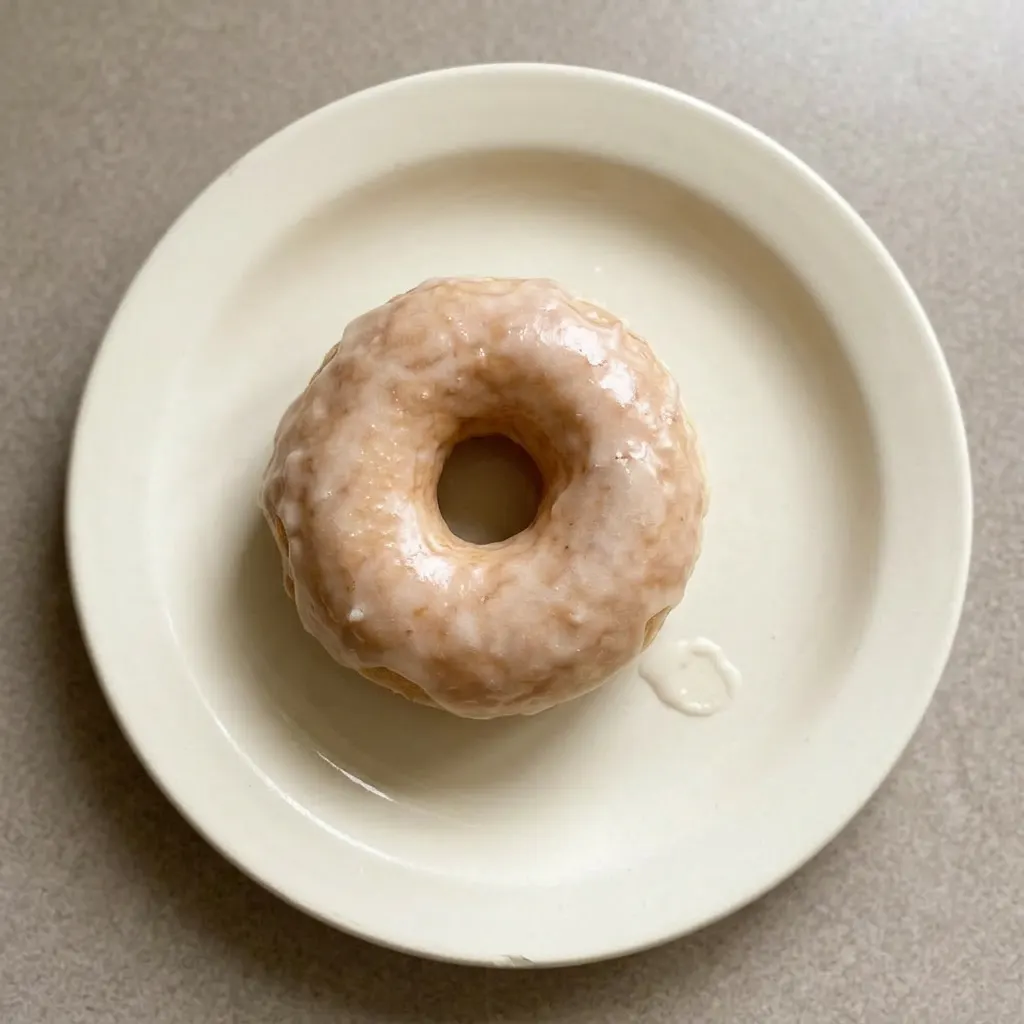
These doughnuts are best within 2 hours of glazing. The glaze stays glossy and the crust shatters; after that, the sugar absorbs moisture from the air and turns tacky.
Store any leftovers in a single layer in an airtight container at room temperature for up to 1 day. Do not refrigerate; the cold hardens the shortening and stiffens the crumb.
By day two, the exterior softens and the glaze becomes sticky. To recapture some crispness, reheat in a 350°F oven for 3 to 4 minutes, then glaze again fresh.
Freezing is not recommended: the thawed doughnuts emerge dense and the glaze sweats. If you must freeze, freeze unglazed doughnuts after they cool completely, wrap individually in plastic and foil, for up to 1 month.
Thaw at room temperature, then glaze and serve immediately.
Swap shortening for butter? Only if you accept a denser doughnut
Shortening (in dough): Unsalted butter, softened (same weight, 95 g). Butter adds flavor but its water content (about 15%) makes the dough slightly wetter and more proof-sensitive.
The dough feels softer; doughnuts fry up less puffy and with a tighter crumb. They’re still good, but that airy, light texture you’re copying gets compromised.
Shortening (for frying): Vegetable oil (high smoke point, like canola or peanut; same volume, 900 ml). Oil works fine but the doughnuts won’t develop quite the same crisp, non-greasy shell.
Shortening’s solid fat structure at room temp gives a firmer exterior. Oil makes the crust slightly thinner and more tender. Keep temperature at 375°F either way.
Active dry yeast: Instant yeast (same amount, 14 g). Instant yeast doesn’t need proofing; skip step 1 and mix it with the flour.
The rest of the timing stays the same. If you proof it anyway, it’ll still work, but you can shave off 10 minutes. No texture change.
All-purpose flour: Bread flour (same amount by weight, 625 g). Bread flour’s higher protein makes the dough stronger and chewier.
The doughnuts will puff more but feel less tender. For a softer homemade donuts, stick with AP.
If you want a more substantial bite, bread flour works, but you’ll notice the difference.
Tips
- Use a digital scale to weigh your flour; 5 cups can vary by 100 g depending on scooping method, and the dough’s hydration is critical for a light crumb.
- Fry in a deep pot with at least 3 inches of oil to maintain temperature; a shallow pan causes temperature drops that lead to greasy doughnuts.
Frequently Asked Questions
Can I make the dough ahead of time and refrigerate it?
Not really, this dough is meant to proof and fry the same day. Refrigerating after the first proof stops yeast activity, and the dough won’t puff properly during the second rise. If you must pause, shape the doughnuts after the first proof, then refrigerate them on the tray for up to 2 hours before the second proof.
Let them sit at room temperature until soft before frying.
Why did my doughnuts turn out dense and not fluffy?
Most likely the second proof was too short or the dough was too stiff. After shaping, let them rise until they feel soft and hold a slight fingerprint, 30 to 45 minutes as the recipe says.
If they still feel dense, check your yeast: it should have foamed in step 1. Also, rolling the dough too thin (under 1/2 inch) gives flat doughnuts; too thick and they may not cook through.
How do these compare to real Krispy Kreme doughnuts?
They’re close, the same airy crumb from double proofing and a thin, crackly glaze from corn syrup. The main difference is texture: homemade shorting gives a tender, not greasy, interior, while Krispy Kreme’s industrial process yields an even lighter, more uniform crumb. The glaze sets glossy and shatters on the first bite, just like the original.