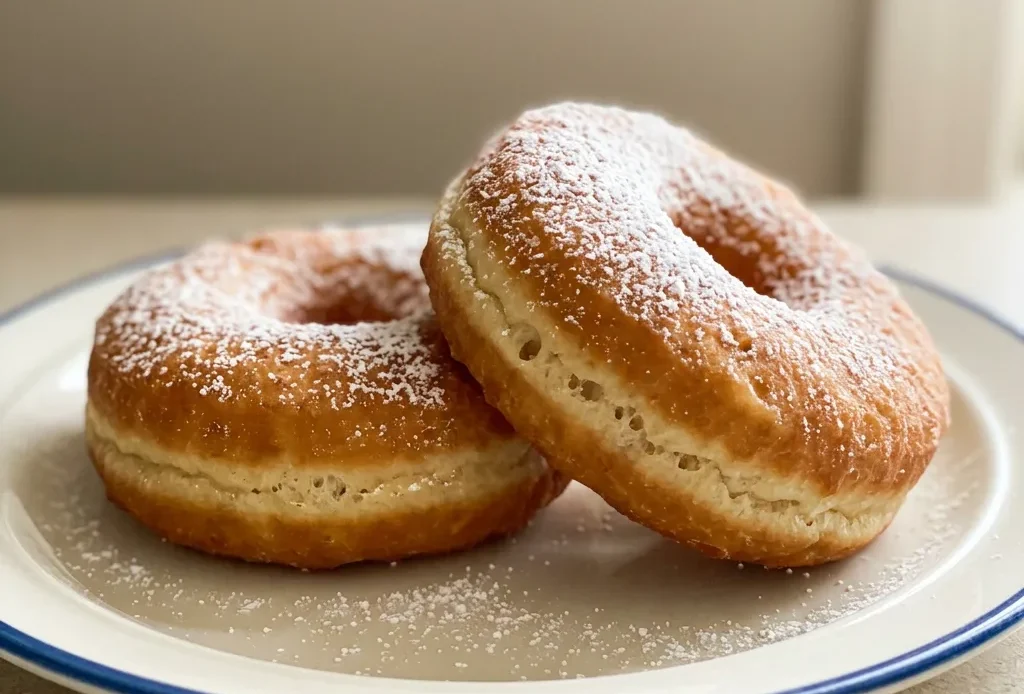
The gap between a good donut and a great one is about a half hour of hands-on work and a lot of waiting. That’s because yeast donuts live and die on their rise, not on fancy technique.
You get bubbles on the milk within minutes that tell you the yeast is alive, then you wait through two rises that change a sticky dough into something that puffs up light and airy in the oil. Store-bought versions can’t touch the texture of homemade donuts, but you have to trust the process: the first proof builds flavor, the second builds the airy crumb. The payoff is a donut that’s tender, not greasy, with a soft interior that yields to the slightest bite.
Proof the yeast for a light crumb
When you stir yeast into warm milk and see bubbles within a few minutes, that’s a good sign the yeast is alive and ready. Those bubbles are carbon dioxide, the gas that lifts the dough.
Without that active start, the donuts would come out dense and flat. A foamy proof tells you the yeast is strong enough to create air pockets throughout the dough.
You’re essentially giving the yeast a head start before adding it to the flour. That step pays off in a tender, airy donut.
Why two rises matter for structure and taste
The first rise builds gluten and develops deeper flavor. As the dough sits, the yeast works slowly, creating compounds that taste more complex. The second rise happens after shaping, and that’s what makes the donuts light.
Without it, the cut donuts would fry up flat and dense. You can see them puff up noticeably during that last rest. That extra time lets the dough relax and fill with gas, so when they hit the oil, they expand into a soft, airy interior.
Control oil temperature for grease-free donuts
If the oil is too cool, the donuts absorb fat and turn greasy. Too hot, and they brown before the inside cooks through. At the right temperature, the donuts float and puff immediately, developing a crisp golden crust.
The heat sets the exterior quickly, which seals in the moisture and prevents oil from soaking in. You’ll see even browning on both sides if you keep the heat steady. That consistent heat is what delivers a light, not heavy, donut.
Butter and hydration shape the crumb
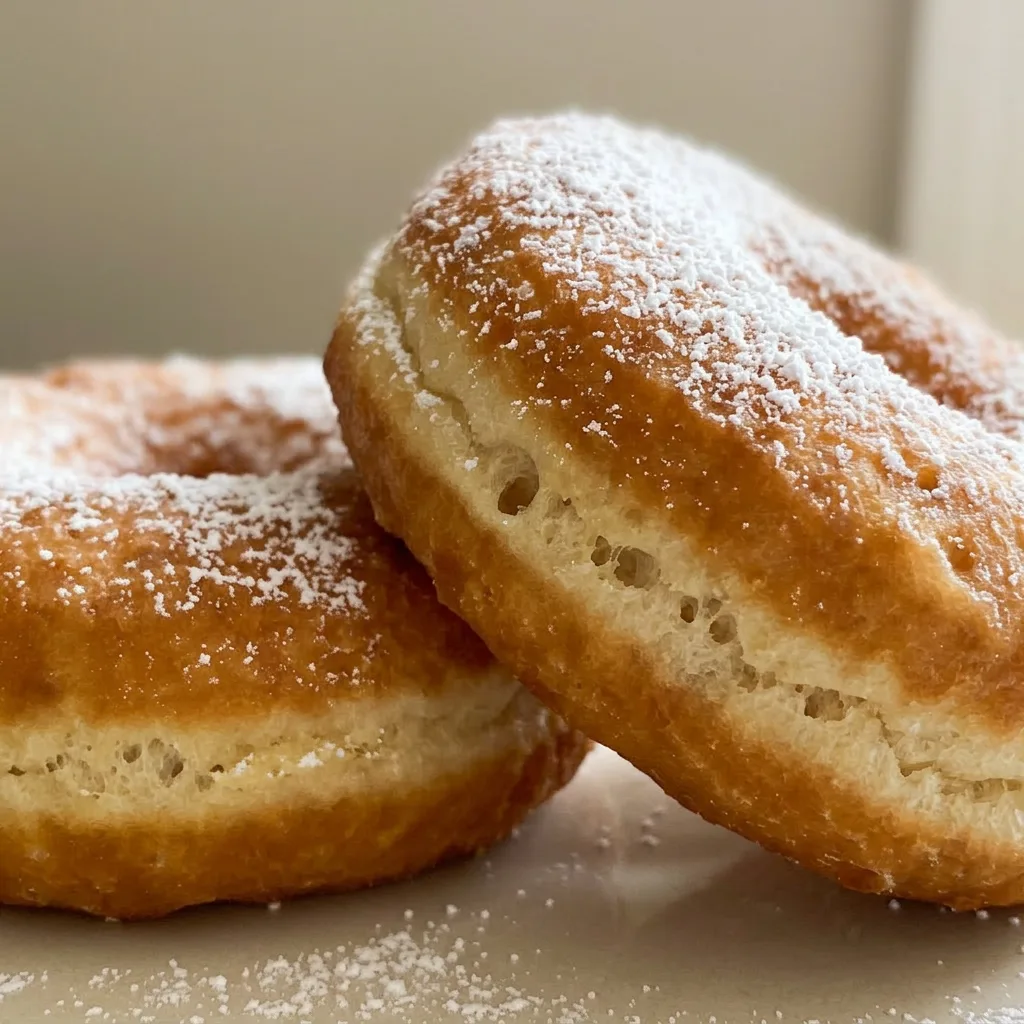
The butter in the dough adds richness and makes the donuts tender, not tough. You can feel it in the soft, almost melt-in-your-mouth texture. The hydration level from the milk and eggs determines how sticky the dough feels.
A slightly sticky dough produces a moist, airy crumb; too dry and the donuts turn cakey. When you knead, the dough should be soft but not unworkable. That balance between butter and liquid is what gives these donuts their characteristic light chew.
Prep: 30 min · Cook: 16 min · Total: 3 hr 16 min · Servings: 8
What to look for in these donut ingredients
Active dry yeast: Check the expiration date. Old yeast won’t bubble and your donuts won’t rise.
All-purpose flour: Use unbleached for stronger gluten structure. Bleached makes them softer but less chewy.
Unsalted butter: Softened to room temperature so it creams into the dough without lumps.
Warm milk: Heat to 110°F. Too hot kills the yeast; too cool takes forever to proof.
Vegetable oil: Use a neutral oil with a high smoke point like canola or peanut for clean flavor.
How to shape and fry donuts that rise evenly
Knead until the dough springs back
Knead the sticky dough for 5 to 10 minutes on a floured surface. You’ll feel it smooth out and become elastic. When you poke it, the indent should bounce back slowly.
If it doesn’t, keep kneading.
First proof until doubled
Put the dough in a greased bowl, cover, and let it rise in a warm spot for 1 to 2 hours. It’s ready when it’s doubled and a fingerprint stays after you poke it. Under-risen dough yields dense donuts.
Roll and cut without squashing
Roll the dough to 1/2 inch thick. Use a floured cutter and press straight down without twisting, twisting seals the edges and prevents rising. Cut as many as possible before rerolling scraps.
Second proof until visibly puffy
Arrange cut donuts on a parchment-lined baking sheet, cover loosely, and let rise 30 minutes. Look for them to puff up noticeably. Under-proofed donuts will be dense; over-proofed ones may collapse in the oil.
Fry at 350°F until deep golden
Heat oil to 350°F. Fry donuts in batches, 1 to 2 minutes per side.
They should float immediately and sizzle gently. Flip when the bottom is deep golden.
If they brown too fast, the oil is too hot.
Drain and dust while warm
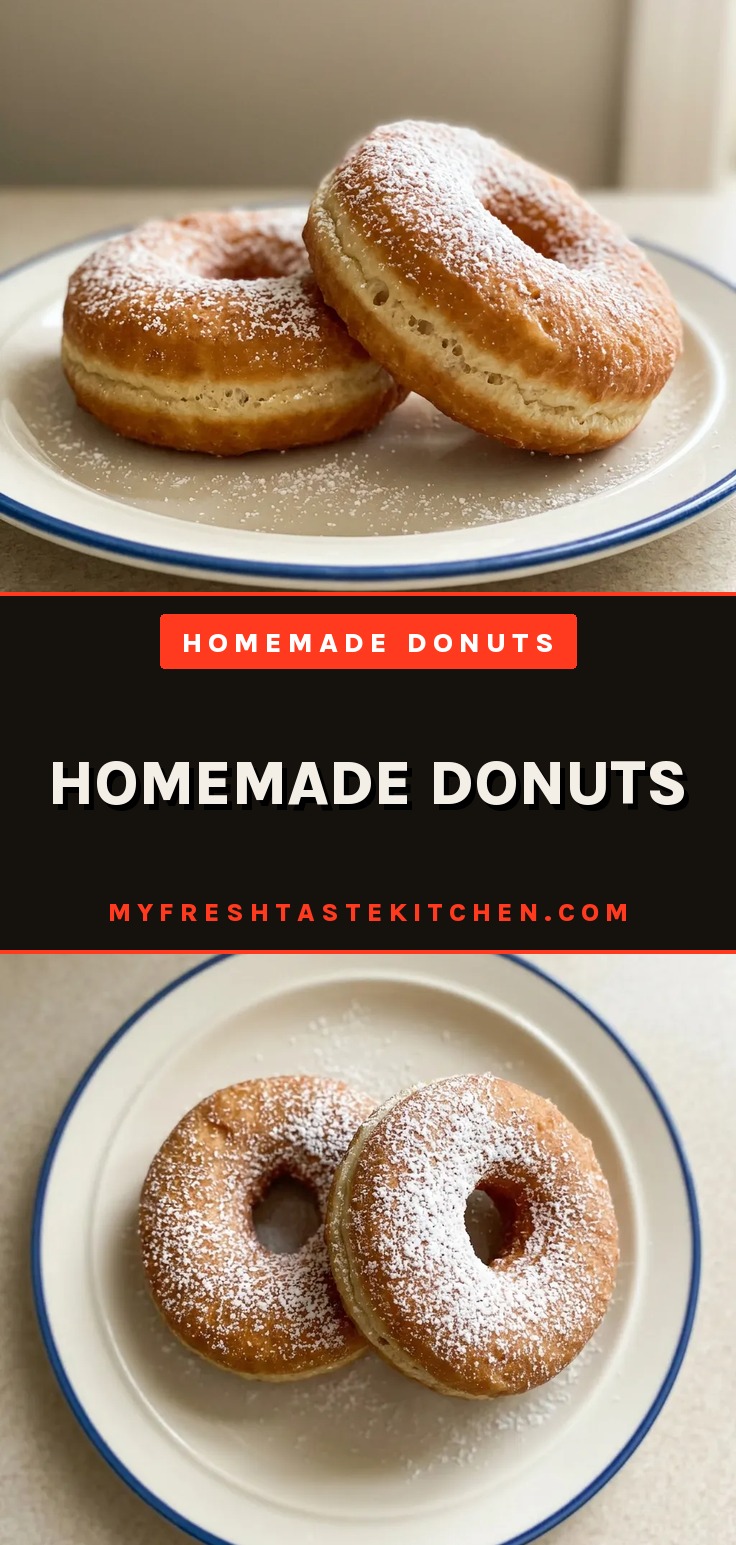
Transfer fried donuts to paper towels. Let them drain briefly, then sprinkle powdered sugar on both sides while still warm so it sticks. Don’t wait until they cool or the sugar won’t adhere.
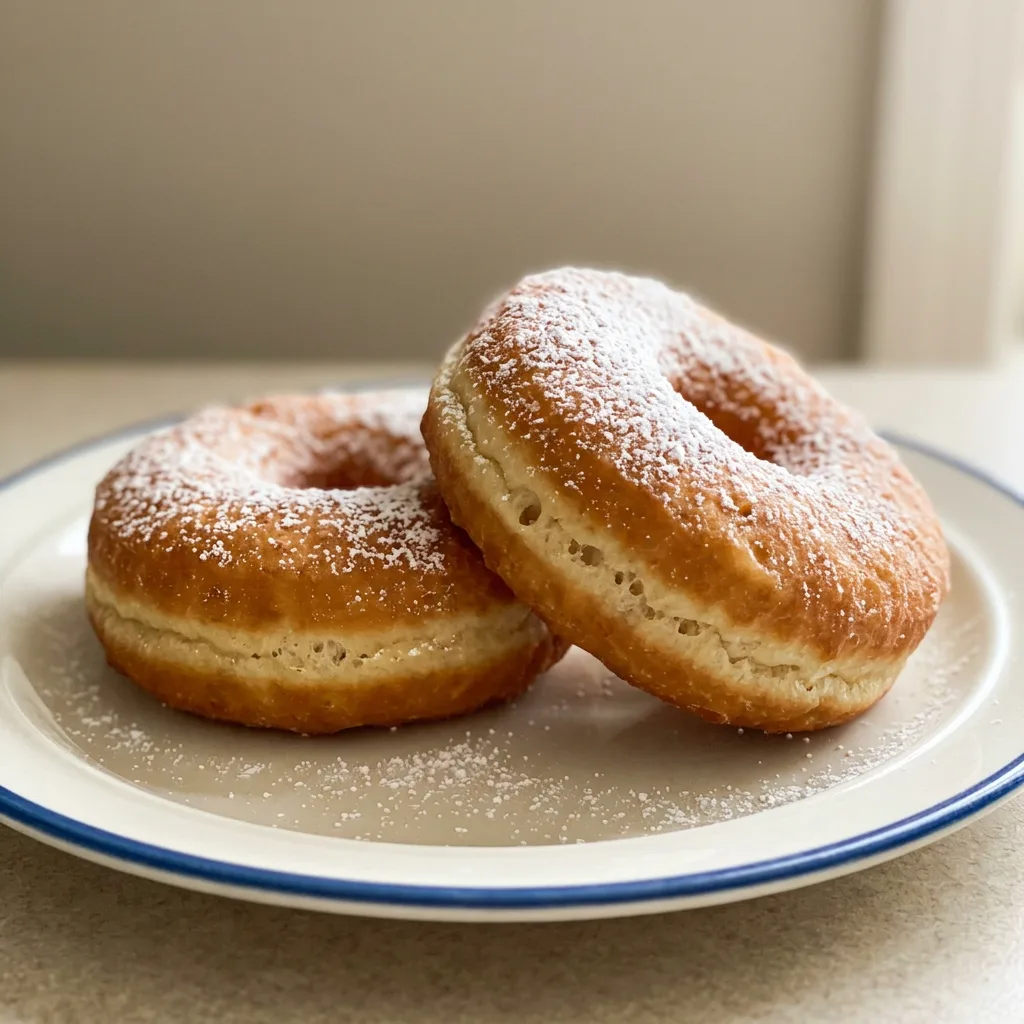
Homemade Donuts (Fluffige Selbstgemachte)
Ingredients
Method
Proof the Yeast:
Proof the yeast: Stir yeast into warm milk and let sit roughly 5 minutes until bubbly.Mix Dry Ingredients:
Mix dry ingredients: In a large bowl, combine flour, sugar, and salt. Add softened butter, eggs, and the proofed yeast mixture. Blend until a sticky dough forms.Knead the Dough:
Knead: Transfer dough to a floured work surface and knead 5–10 minutes until smooth and elastic.First Proof Dough:
First proof: Put dough in a greased bowl, cover with a damp towel, and let rise in a warm, draft-free spot for 1–2 hours until doubled in size.Shape Donuts:
Shape donuts: Roll dough to about 1/2 inch (1.25 cm) thickness. Use a donut cutter or a large glass with a smaller cutter to cut out donuts. Gather and reroll scraps, then cut again.Second Proof Donuts:
Second proof: Arrange cut donuts on a parchment-lined baking sheet, cover loosely, and let rise 30 minutes until puffy.Fry Donuts:
Fry: Heat vegetable oil in a deep fryer or heavy pot to 350°F (175°C). Fry donuts in batches, 1–2 minutes per side, until golden. Transfer to paper towels to drain.Finish with Sugar:
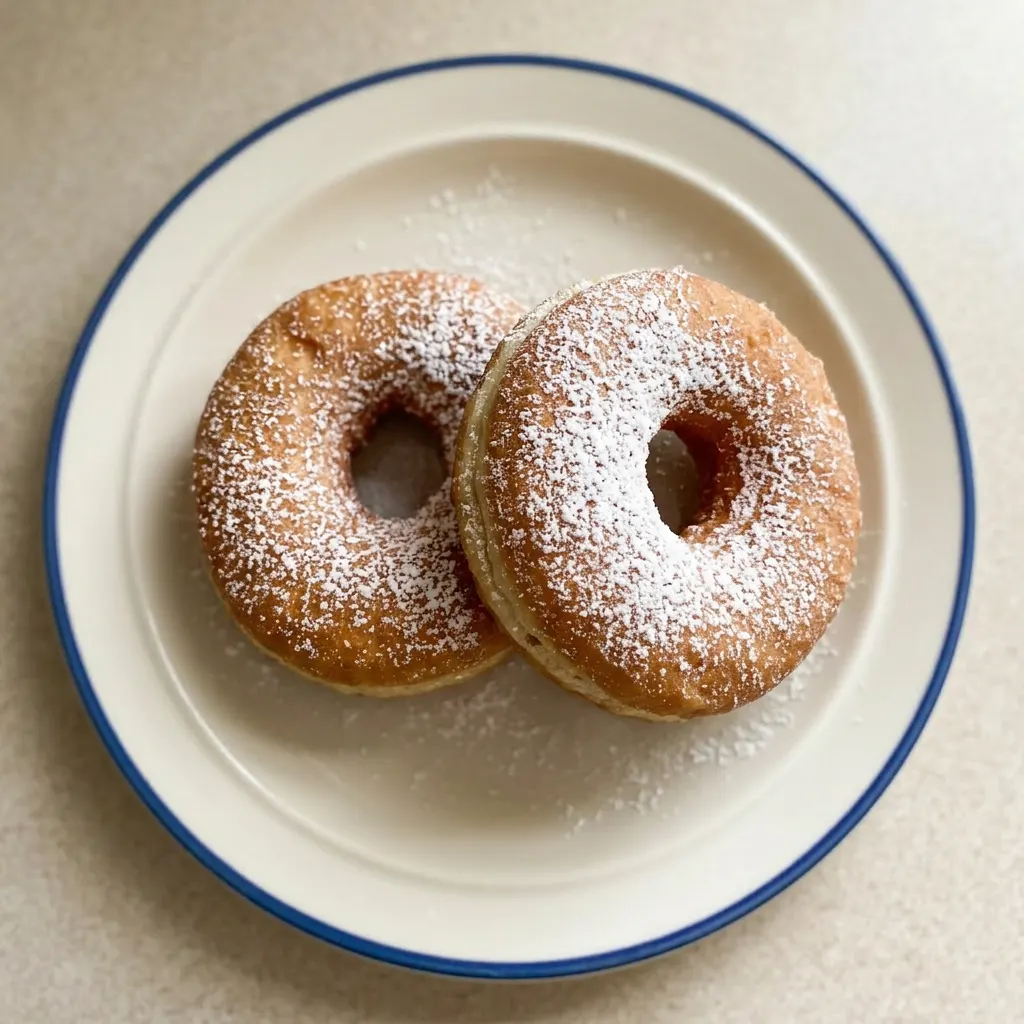
Finish: Sprinkle warm donuts with powdered sugar.
Swapping yeast and flour changes the donut’s chew
Active dry yeast: Instant yeast: use the same amount (2 1/4 tsp / 7g), skip proofing and add directly to the flour. Saves time without changing the dough’s rise or flavor.
All-purpose flour: Bread flour: substitute cup for cup (2 1/4 cups / 280g). You may need an extra tablespoon of milk if the dough feels stiff. More gluten gives a chewier, slightly denser donut.
The crumb is still airy but has more resistance when you bite.
All-purpose flour: Gluten-free all-purpose blend (cup-for-cup): use a blend with xanthan gum and the same weight (280g). The dough will be stickier and harder to handle. Donuts will be more delicate, less chewy, and may not puff as high.
They fry well but have a tender, almost cakey crumb. Not the same as wheat donuts, but a working substitute.
Storage and Serving
For the best texture, serve these donuts within 2 to 3 hours of frying. The powdered sugar should go on while they’re still warm so it sticks.
After that, the exterior starts softening. Store any leftovers in an airtight container at room temperature for up to 2 days.
Do not refrigerate; the cold dries them out and ruins the tender crumb. To revive a day-old donut, warm it in a 300°F oven for 3 to 5 minutes. Don’t microwave, it turns them rubbery.
Freezing is not recommended for the finished donuts; the thawed texture is disappointing. If you must freeze, do so before the final dusting: wrap unfrosted, cooled donuts tightly in plastic wrap and freeze for up to 1 month. Thaw at room temperature, then reheat briefly before adding powdered sugar.
Tips
- Use a spider skimmer to lower donuts into the oil gently; dropping them in from height can cause splashing and deflate the dough.
- Let the fried donuts rest on paper towels for only 30 seconds before dusting with powdered sugar; if they cool too much, the sugar won’t stick.
Frequently Asked Questions
Can I make the dough the night before and refrigerate it?
Yes, but it changes the timing. After the first rise, punch down the dough, wrap it tightly in plastic, and refrigerate overnight. The next day, let it sit at room temperature for about 30 minutes before rolling and cutting, then proceed with the second proof.
The cold dough will be firmer and easier to handle, but the second rise may take a bit longer, look for the donuts to puff up visibly. Don’t refrigerate after shaping, as the cut donuts will dry out.
Why did my donuts turn out greasy?
Most likely the oil was too cool. At the right temperature, the donuts float immediately, and the crust sets quickly, sealing out oil.
If the oil is below 350°F, they’ll absorb fat. Check your thermometer, if you don’t have one, drop a cube of bread: it should turn golden in about 60 seconds. Also, overcrowding the pot drops the oil temperature, so fry in small batches.
How do I know when the oil is at the right temperature without a thermometer?
Drop a small cube of bread into the oil. It should sizzle steadily and turn golden brown in about 60 seconds. If it browns faster, the oil is too hot; if it takes longer, it’s too cool.
You can also dip the handle of a wooden spoon, bubbles that rise steadily but not furiously indicate the right range.
What’s the difference between yeast donuts and cake donuts?
Yeast donuts, like these, use yeast for leavening, giving them a light, airy, and slightly chewy crumb. Cake donuts rely on baking powder, producing a denser, tender, and more crumbly texture. The yeast version also involves proofing time, while cake donuts are mixed and fried immediately.
